2015 Bethlehem Star

IaRoadKill

New member
Here's what I've done so far.

I went out to Altoona lights and used their Calculator.
http://www.altoonalights.com/star_calculator/star_calculator.html
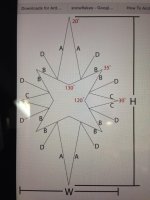
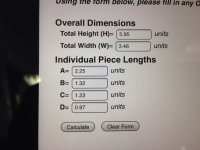
image.jpg image.jpg

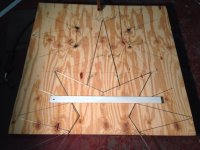
I made a jig on a 4 x 4 piece of plywood.
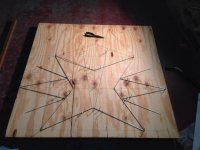
image.jpg image.jpg

I used 12 gauge galvanized steel rods, 4 foot long and cut to length.

I made one complete star and then 2 half stars.

I welded 1 half star on the front and 1 half star on the back of the full star to get a 3-D star.
I added some extra wire in the center to strengthen the unit.
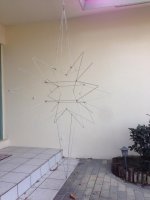

image.jpg

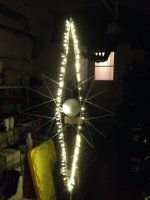
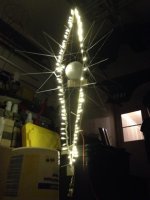
This is my completed 3-D Bethlehem Star skeleton.
 
No seriously, what's a 3-D sequencer!?!

sequencing software or an effects generators that is 3D-aware. The currently available tools use 2D effects and those mostly look okay on a 3D prop, but there are certain types of effects that require the effects generating software to be aware of 3 dimensions in order to look correct in 3D. For example, if you ran a 2D exploding star effect on a 3D star you would need to arrange the pixel order so that the first lights to turn on are all in the middle of the star and the last ones to turn on are all at the outer tips of the star. It could be made to work, but it's more manual effort to set up than just using a 3D-aware effect generator in the first place.

don
 
It wouldn't need to be 3d aware. You could have it setup as 3 flat stars (or 4 depending on your star) and you could have them explode together like having 3 arches jump together. 3d aware would be way better but you can get around it.
 
Okay I might as will show you what I'm working on.

image.jpg image.jpg

The lights on the left are spaced 1-1/2" apart the lights on the right are spaced 1" apart top and bottom, 4" in the center.
(I'm leaning towards the left side)

I'm adding a ball in the center that I will cover with aluminum foil to reflect light or I'll wrap it with more lights.
 
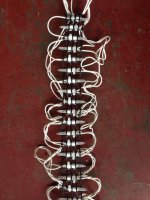
After trying about 10 different ways to mount the lights, I have settled upon this.
image.jpg

Spacing is about 1-1/2" with the black plastic flexible mesh.
I will tuck the wires in on the back side once mounted to the frame.
I'm manufacturing the top and bottom point strings first and will take another picture once I get them mounted.
:thup2:
 
Your hand will hurt after installing that many zip ties! I've been wondering why I haven't invested in one of those automatic zip tie guns.
 
Back
Top