Light Arch
Easy Light Arch
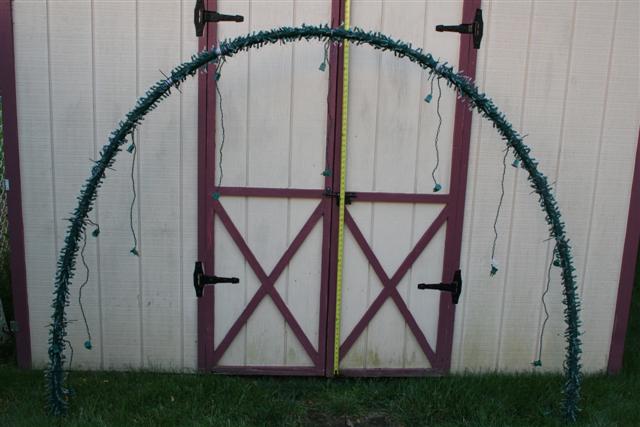
The Easy Light Arch is modeled after the Leaping Light Arch designed by Ken Maxwell of Planet Christmas. The Easy Arch is smaller and a modular design for easy storage and section replacement should a set of lights need repair during the display season. The Easy Arch is 8 feet wide at its base and 5 1/2 feet tall. It consists of 10 channels across the arch. Each channel is 18 inches in width. You can see a video of this exact arch Here. The video just has some random flashing. It is a 3mb download and is in .avi format.
Lets gather the tools and supplies we will need.
1. 5 full 10 foot lengths of 3/4 inch pvc pipe, the gray electrical kind.
2. 10 sets of 100ct mini light strings
3. 30 black zipties
4. 2 12 inch pieces of rebar
5. Black Sharpie type marker
6. Wire cutters
7. Tape measure
8. PVC pipe cutter or hacksaw
Now that we have our materials and tools lets start the building process.
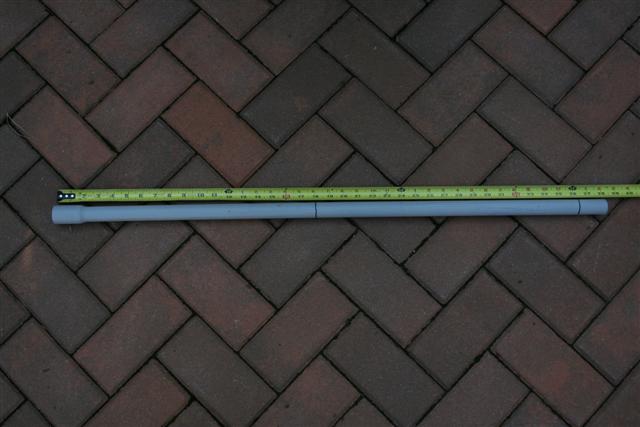
1. Take 1 piece of pvc pipe and measure and mark 18, 36 and 38 inches from the molded female end of the pipe. Draw the markings around the entire pipe.
2. Cut the pvc pipe at the 38 inch mark.
3. Now repeat steps 1 and 2 for each of the remaining pipes. You should now have 5 38 inch pieces of pipe that have marks at 18 and 36 inches from the molded female end. Each of the 5 pipe sections must be cut from the molded female end of a new piece of pipe. Now you may ask why can't we just use the rest of the pipe or isn't that a waste of pipe or why can't we just use pvc couplings. Well I tried it and the reason we need the molded female end on each section is they allow the male end to be inserted 1 1/2 - 2 inches providing a solid joint. The couplings only allow 3/4 insertion and leave a weak joint that will not hold. When I tried to use the couplings I assembled and arch and had some joints pop, with no lights on them and no wind. When I was finally able to get the arch to stay together it looked like half of an octagon, straight sides with sharp bends at the joints. The molded female ends make for the best construction method I have found. The extra pipe can be used to make other projects, such as pvc candy canes.
4. Open a set of 100ct mini lights and unravel it as straight as you can with as few twists as possible.
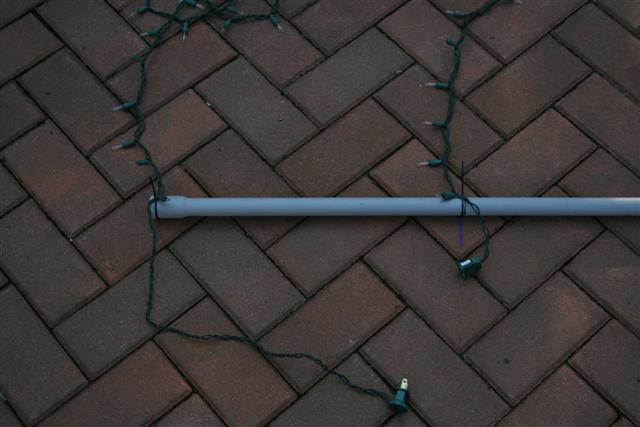
5. Take the male end of the light set and ziptie the light set at the 1st bulb to the pipe close to the edge of the molded female end.
6. Take the female end of the light set and ziptie the last bulb next to the 18 inch mark, on the side of the molded female end of the pipe.
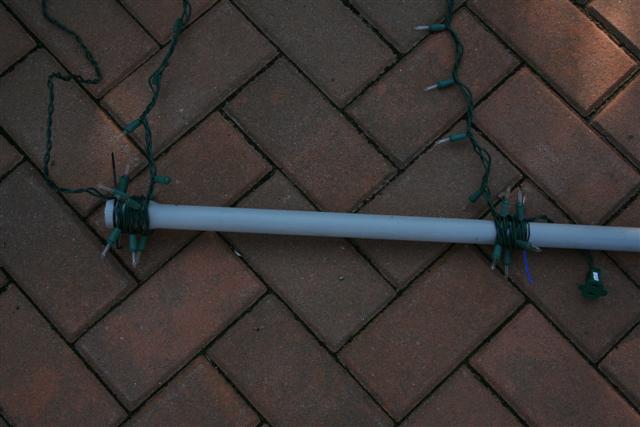
7. A helper will come in handy on this step. Have your helper hold the center of the light string taught. You will now roll the pipe so the light string winds around the pipe, from the ends to the center of the section you are working on. As you roll be sure to not wind the light string on top of any of the bulbs. This will take some time and care. It is not critical to get the wire perfectly next to the lest winding as you will not see any imperfections when it is setup and running. Do not wind the wires tight. If you wind the wires too tight you will pull the conductors out of the sockets of the bulbs and there is not fix other than to take it apart, repair the string and start over again.
8. When you get to the end of the roll and the center of the light string is ready to be secured just tie a ziptie around the wire and pipe to secure it.
9. Now repeat steps 5 through 7 for the second section of the pipe. The male end of the second set of 100ct minis will be tied next to the 18 inch mark on the pipe and the female end of the light string will be tied to the inside of the 36 inch mark. This will leave you 2 inches of bare pipe that will slip into the molded female connector of the next section of pipe. Be sure to pay attention to the orientation of the male end of the lights and the direction of the roll.
10. Repeat steps 4 through 9 for the remaining pieces of pipe.
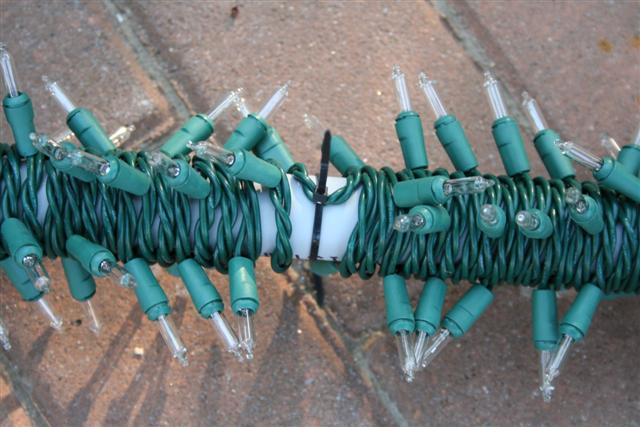
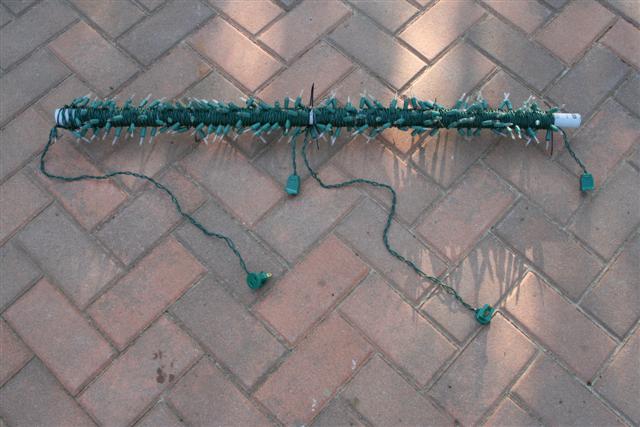
You should now have 5 arch sections that look like this:
11. Simply slide each female end of the pipes over the 2 inches of empty pipe from another section. You should now have a 15 foot long pipe.
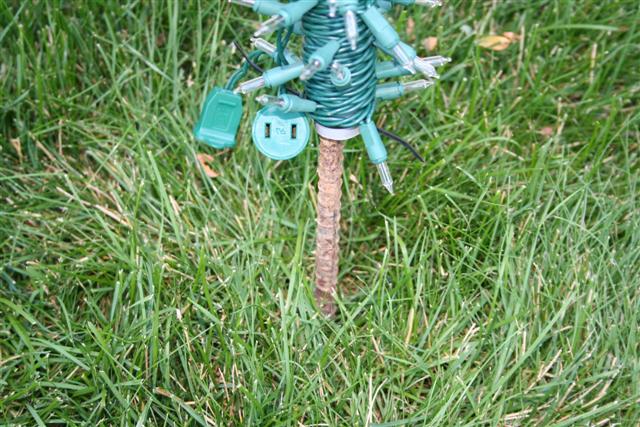
12. Now take the 2 pieces of rebar and place them about 6 inches into the ground, straight up and down, no angle needed. They rebar should be placed 8 feet apart.
13. Take one end of the 15 foot arch pipe and place it over one rebar and then over the second rebar. You should now have an Easy Light Arch.
A final suggestion. You could take some left over pvc and cut it into 3 inch pieces. You can use these 3 inch pieces as spacers to raise the arch ends off the grass. You may find you need longer pieces of rebar for this depending on your soil consistency.
Good Luck and Merry Christmas!
