Creating a Preview
Back to: HLS Getting Started Manual
Next we will create a sequence preview (simulator). Select the Manage Channels tab at the top and then the Edit Sequence Paint selection. The screen should then look like the one in Figure 1-29. Note the channels (outputs) are shown on the left in their configured color. Also note the asterisks to the left of the first channel. The asterisks show that channel 1 is the active channel for drawing now. The arrow up and arrow down keys on the keyboard can be used to switch channels for drawing. If the up or down arrow key does not seem to switch channels for drawing hit the ESC key.
Figure 1-29. You can draw the lighting elements on the screen at this point. Lines or points can be drawn. A triangle to represent output channel 1 was drawn to represent a tree (see Figure 1-30). This would be drawn as three lines. To draw a line, depress the left mouse button, keep at depressed and move the mouse until you are at the endpoint, then release the left button
Figure 1-30. If you make a mistake and want to erase the work you have done on the tool, hit the delete button on the keyboard. You will be prompted as to whether you want to delete this preview channel (see Figure 1-31). Note that it will only delete the graphics for the current tool.
Figure 1-31. Figure 1-32 shows the completed sequence simulator. In the left tree each channel was drawn as a triangle. In the right tree Channel 4 was drawn as a triangle and 5 and 6 were drawn as dots. Note that line width and dot size can be changed (before they are drawn) under the preview tab on the top right.
Figure 1-32. Figure 1-33 shows what the simulator would look like if all channels were on.
Figure 1-33. To run the simulation, the preview (simulation) screen must be showing. Next you must put a checkmark in the Preview Sequence check box on the upper right of the screen. Then choose the play button on the upper left of HLS and your sequence should run and the simulator should show your outputs working. Remember that we did not program many effects in this example yet. Note: you may change the speed at which the WAV file is played under the WAV file tab at the top of HLS. You may choose ¼, ½, ¾ or full speed.
Adding a BMP to the Preview
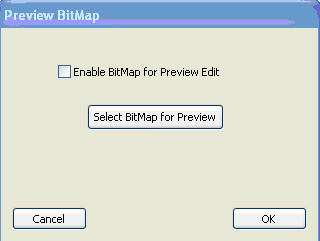
It might be helpful to add a bitmap image (bmp) of your house and yard to your preview (simulator). To do this, choose the Manage Channels tab and then select Manage Bitmap of Preview. The screen shown in Figure 1-34 will appear.
Figure 1-34.
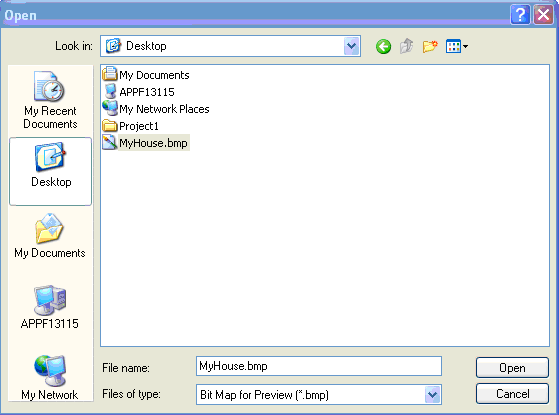
Figure 1-35.
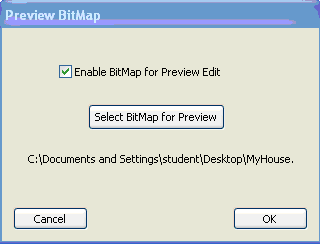
Figure 1-36.
The Bitmap will be scaled to fit the HLS pane and will be converted to Black & White. You should make your Bitmap as dark as possible since the preview vectors are drawn in White.
Next: Adding a Beat Track


