Advanced Channel Management
This is based on version 11V.
This portion of the manual is under heavy development.
Introduction
The Manage Raw Channels window is truly a powerful tool. In this document, we will explore some of the more advanced features of the channel manager. Something that everyone needs to know before doing anything with channels is, SAVE YOUR SEQUENCE BEFORE YOU MAKE CHANNEL CHANGES. When managing raw channels, there is no cancel or undo. What happens, happens. If you save your sequence right before working with channels, if something goes wrong, you can always restore to the previous backup.
Grid Columns and What They Mean
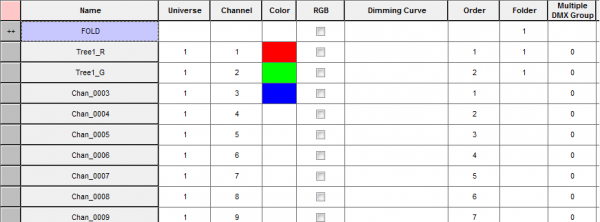
There are a number of columns in the Raw Channel window. Figure 3-10 shows a subset of those columns. (Some columns are out of view.)
- Left-most Gray Square: This is a selection box. You left-click in here and the square becomes green. That channel (and any others you left-click on) is selected and can be moved into a folder or deleted.
- Name: This field shows the name of the channels.
- Universe: A numerical value from 0-5000. Any channels in universe 0 will never be displayed.
- Channel: This is the numeric value of the channel. These are used when the sequence is sent to controlling hardware.
- Color: This field is set to the color of the channel.
- RGB: This checkbox is checked when a channel is an RGB lighting element or pixel.
- Dimming Curve: This field is to set a dimming curve for the channel.
- Order: This field is used to adjust the order of the channels.
- Folder: The number of the folder that a channel is assigned to.
- Multiple DMX Group: A normal DMX universe has 512 channels. This is active when using hardware that allows 4096 channels per universe.
- Control Type: This is used with animation effects and trigger events.
- GRB: Used when the order of the RGB is different from Red-Green-Blue.
- Preview Group: This group number defines what Preview Group the channel belongs to.
- Preview Number: This is the channel number for the assigned display group.
Advanced Renaming Channels
When adding a bulk group of channels, HLS will ask for a base name to start with, but you most likely will want to customize the names for your purpose. You can rename individual channels, rename using the bulk renaming utility, and even create names in excel that you paste into the Channel Manager.
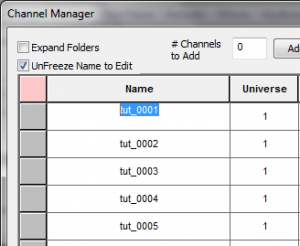
To rename individual channels, you must first open the Channel Manager (Manage Channels -> Manage Raw Channels). See Figure 3-11.
- Check the box to Unfreeze Name to Edit.
- Click on the channel you wish to rename.
- Highlight the old name and type in the new name.
- When done, Click Save All Channels.
Reordering and Renumbering Channels
Using Folders
Create a New Folder:
- Open the Channel Manager (Manage Channels -> Manage Raw Channels).
- Click the Add Folder button on the top toolbar. (See Figure 3-12).
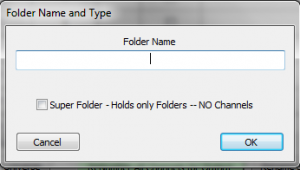
- A dialog box will open asking for a Folder name. Type name and press OK. (Se Figure 3-13).
- Note: A Super Folder contains only folders. Check this box if you wish to create a "folder of folders". This would be used for channel organization.
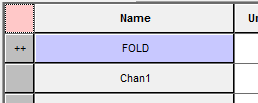
- Once entered, the folder will appear at the top of the list of channels and have ++ on the left-most square to identify it as a folder. (See Figure 3-14).
Copying Channels
Revisions needed.
2013-01-21 Confirmed the following works exactly as stated on version 11V.
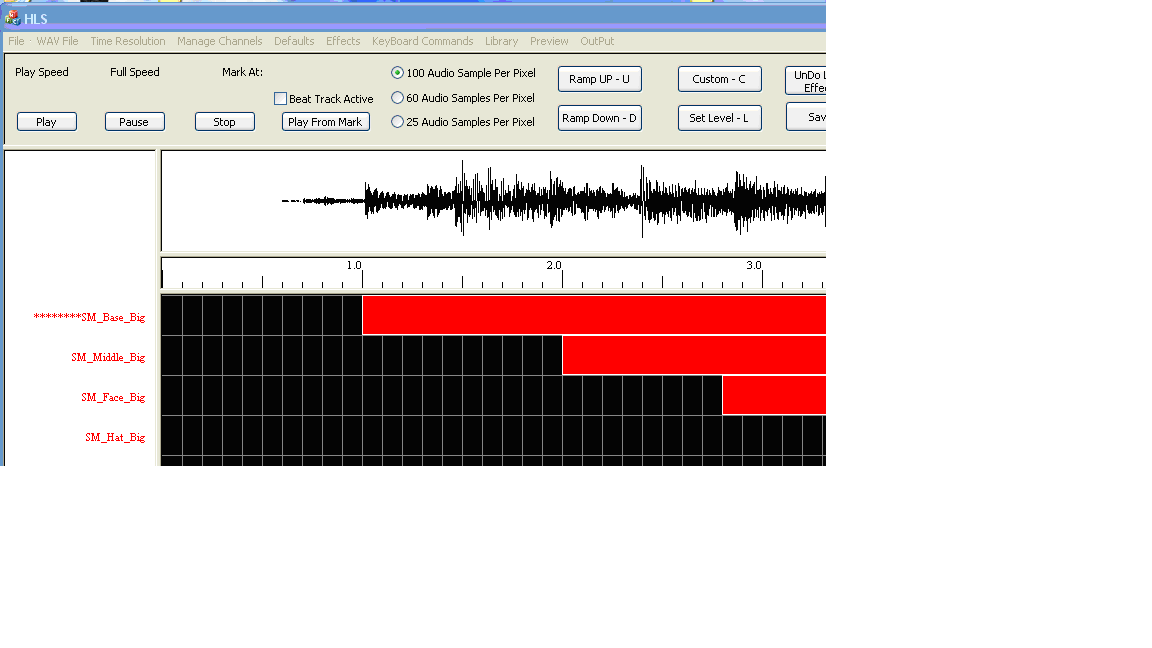
To copy one or more channels click on the channel and asterisks will appear to the left of the channel name (see Figure 1-20). The click again on the channel to select it. Then Select the Manage Channels tab and choose Copy - Paste Whole Channels. You will then be prompted to Click on the Channel to Paste To.
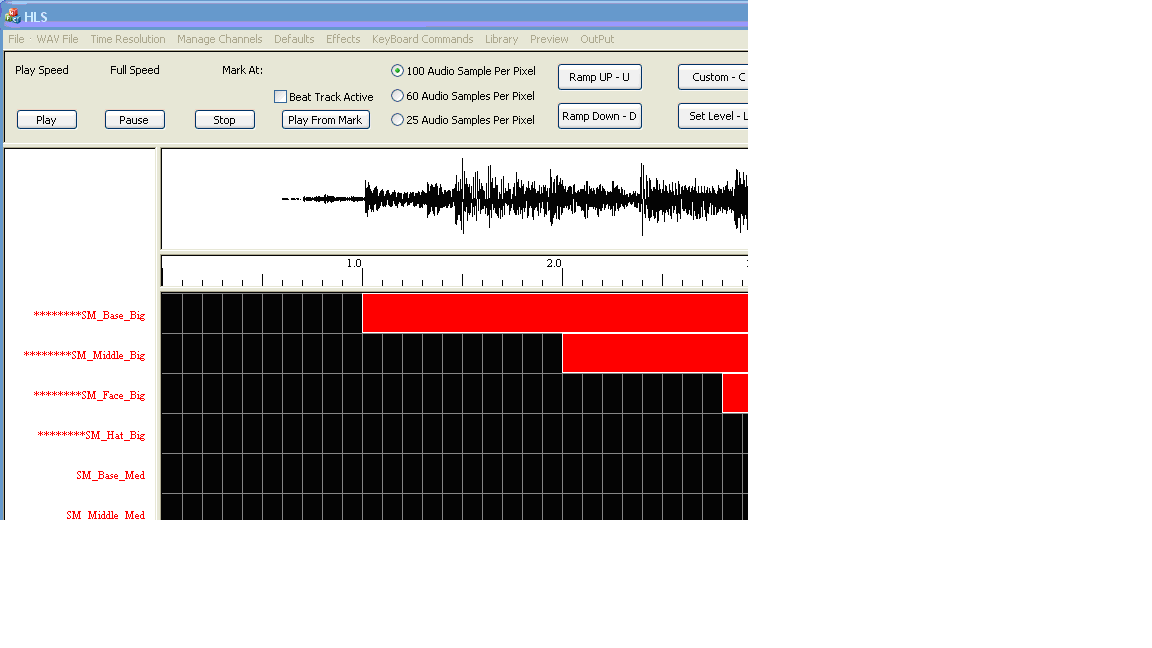
To copy multiple channels click on the first channel to be copied and asterisks will appear to the left of the channel name. The without clicking move your mouse down to include all of the channels you would like to copy (see Figure 1-21). Asterisks will appear to the left of the channel to be copied. Once you have selected all of the channels to be copied click again on the last channel to be copied to select all of them.
Then Select the Manage Channels tab and choose Copy - Paste Whole Channels. You will then be prompted to Click on the Channel to Paste To. Note that if you are copying a number of channels you will have to have that many to paste to.
Figure 1-21
Deleting Channels
Program Help File
Paste help file from HLS channel manager here.
| HLS User Manual and Reference Guide | ||
|---|---|---|
| Previous Page | Current Chapter | Next Page |
| Setting up HLS Channels | Chapter 3: Channel Management | RGB Channels |

