ACL 5050 Strip Information and Building Help: Difference between revisions
Jump to navigation
Jump to search
| Line 18: | Line 18: | ||
24V | 24V | ||
Half of the 12V figures. | Half of the 12V figures. | ||
video of strips | |||
[http://www.youtube.com/watch?v=vuFPPMUGjVA&feature=youtu.be] | |||
==How to Build== | ==How to Build== | ||
Revision as of 03:49, 30 January 2012
General Information
This is a wall washer that was created as just that but it has been used for much more than that.
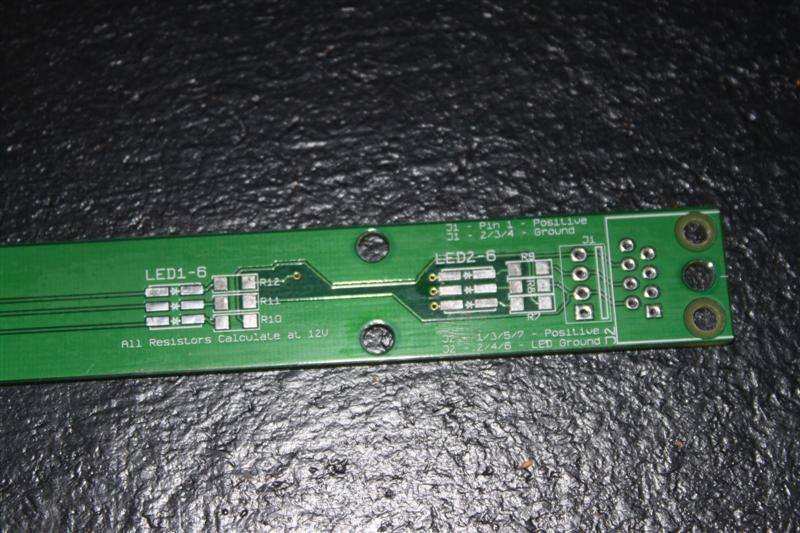
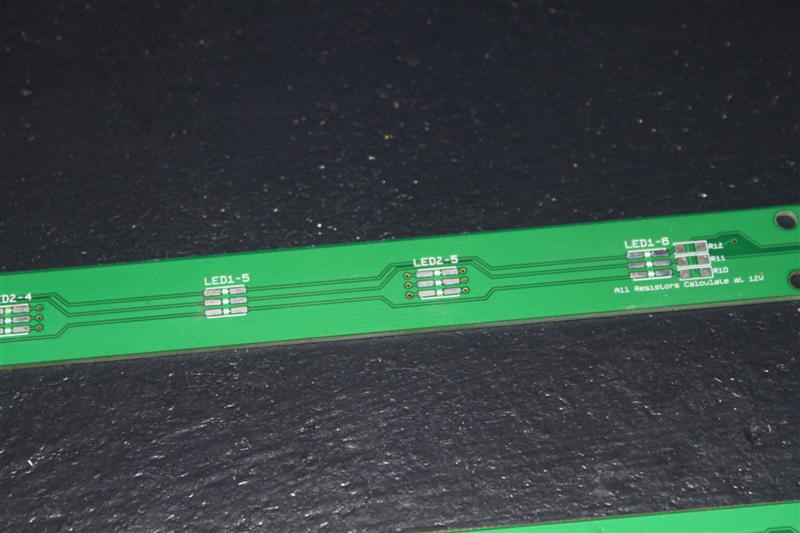
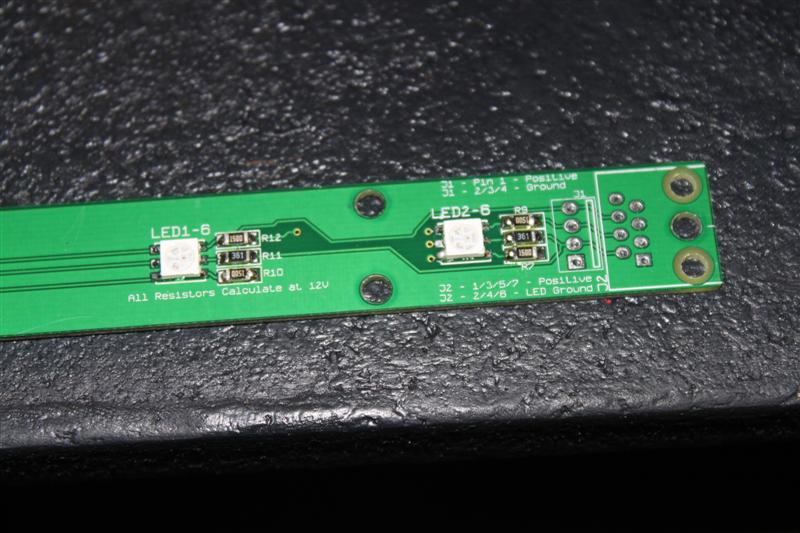
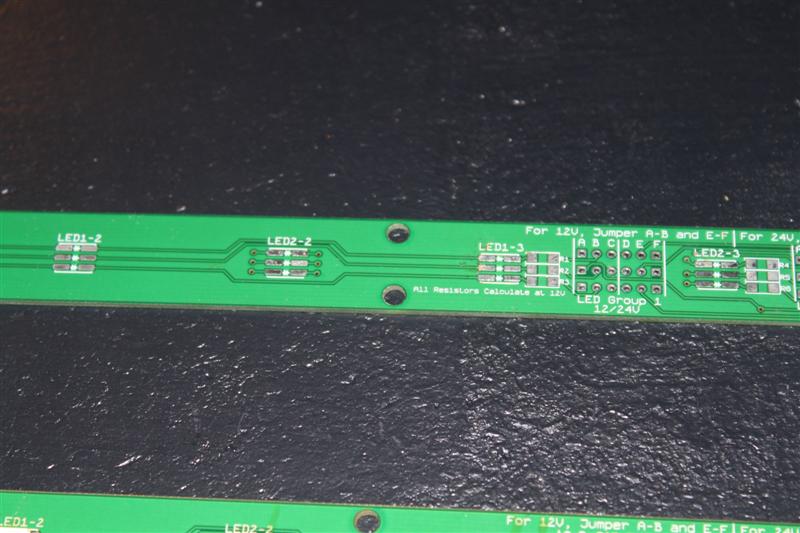
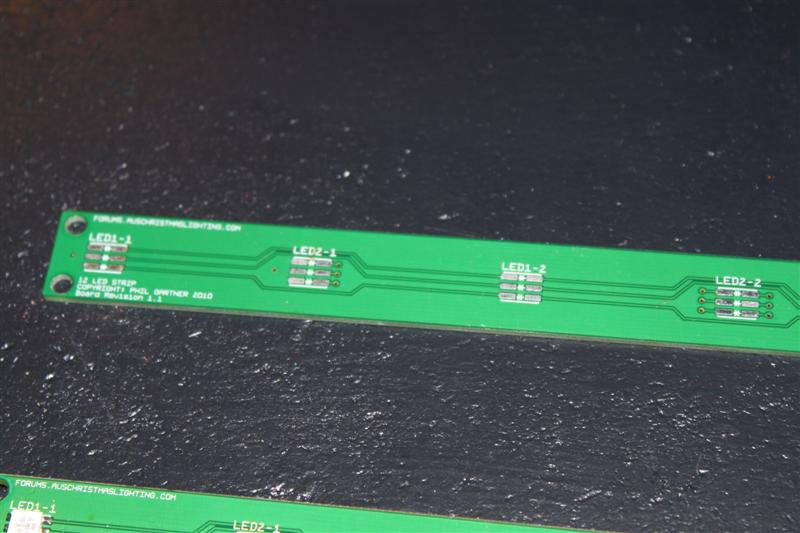
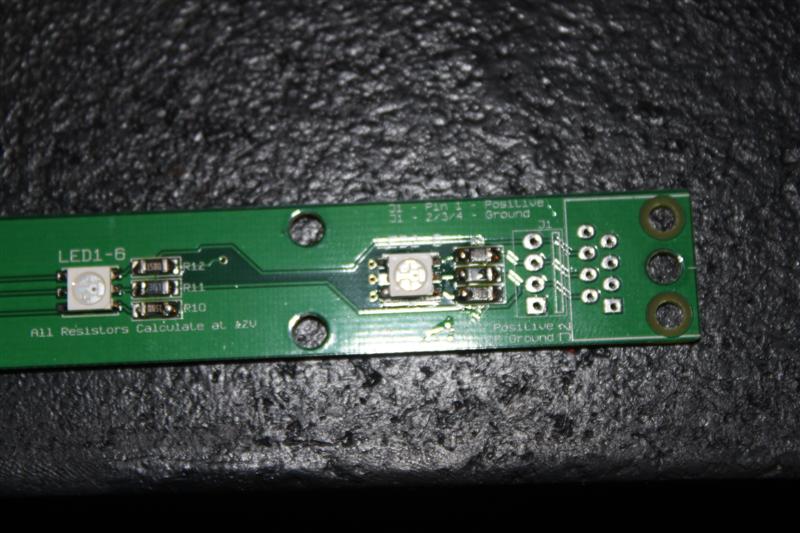
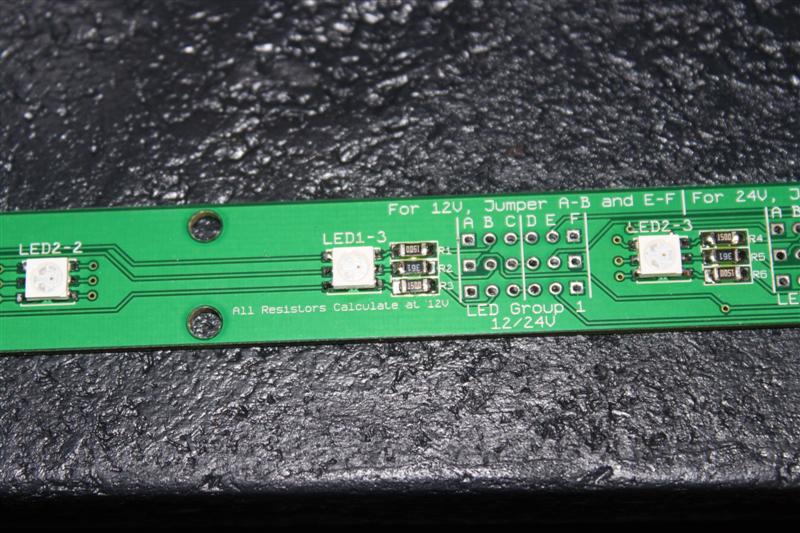
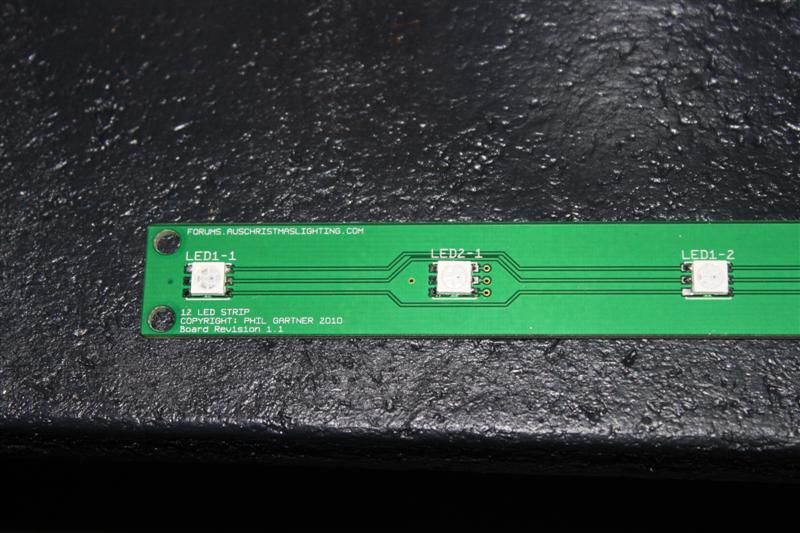
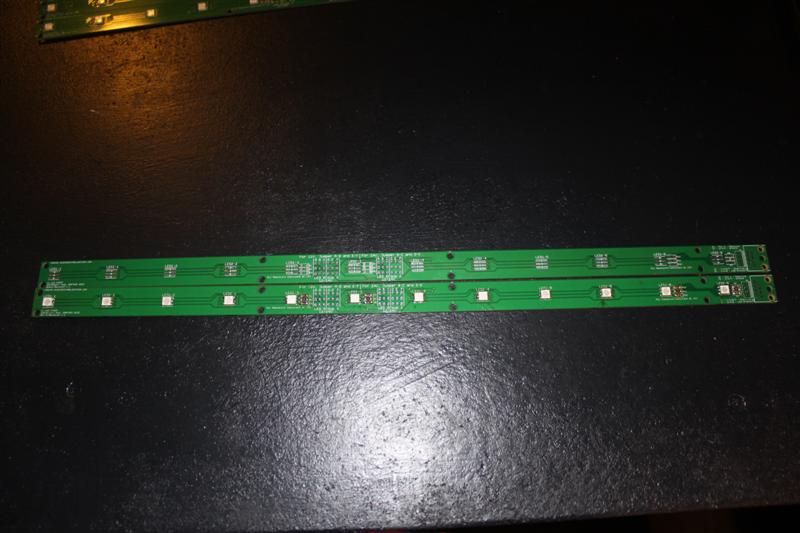
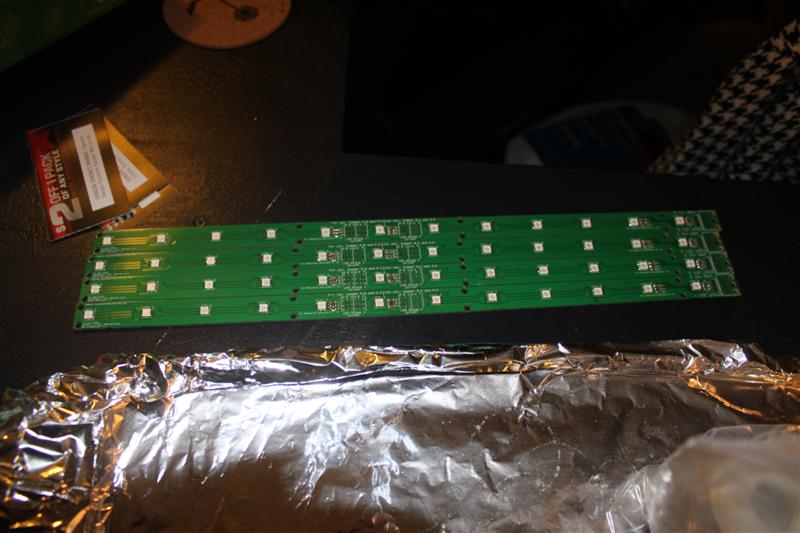
What is it? It is a 450mm x 18mm (18" x 0.7") PCB on which can be mounted 5050 RGB LED's. LED's are in groups of 3. Each group of three has it's own resistors. 6 or 12 LEDs most be mounted. Jumpers allow for connection to 12V DC or 24V DC. LED spacing is approximately 37mm (1.7")
One end has footprint for a RJ45 socket as well as a 4P header the same as used on the TigerDMX120.
Current draw assuming resistors set for 20mA 12V 6 LEDs.... 40mA per colour/channel, 120mA from positive 12 LEDs.. 80mA per colour/channel, 240mA from positive
24V Half of the 12V figures.
video of strips [1]
How to Build
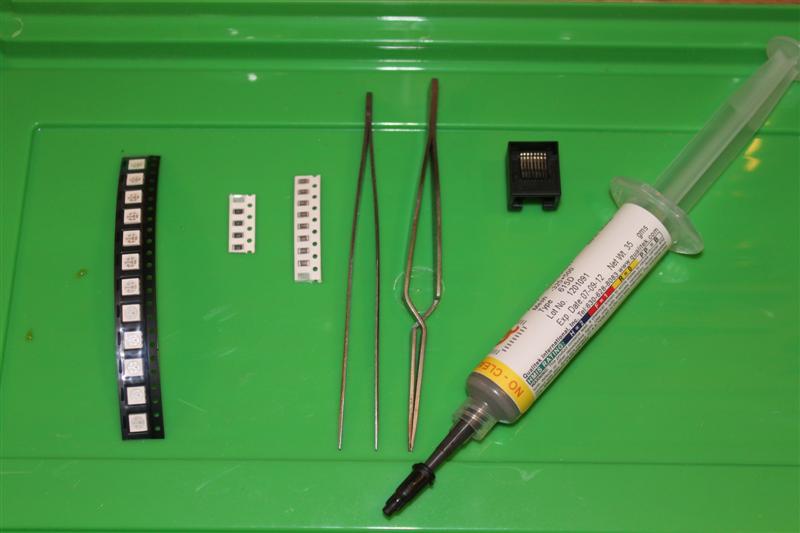
Supplies Needed
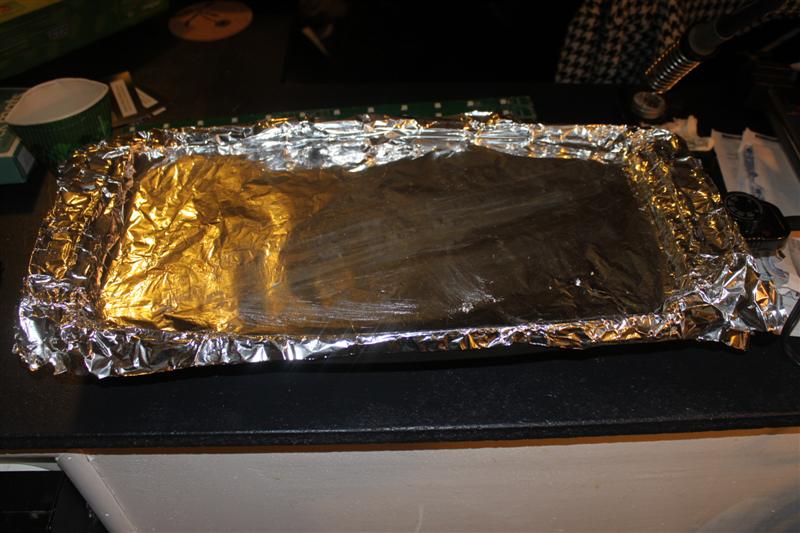
- Skillet - Large enough to sit atleast 1 on it. Not necessary but makes it alot easier to solder.
- Solder Paste - A must as regular solder has to much flux and will cause issues
- 12 PLC6-5050 RGB leds
- Tweezers
- 8 150 ohm SMD Resistors (for blue and green)
- 4 360 ohm SMD Resistors (red Led)
- 1 RJ45 Jack
Mouser BOM [[2]]
