chelmuth
New member
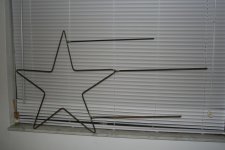
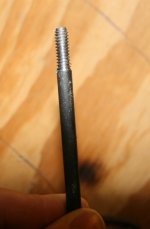
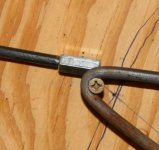
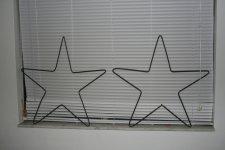
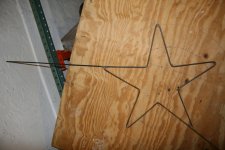
I saw a video of some shooting stars and thought they looked kind of neat and fairly easy to make. This is what I've come up with so far. I went to my local metal supply shop and picked up some 1/4" round bar hot rolled, it was cheaper. I drew a star on a piece of 3/4" plywood and put screws in each point and inside corner. Got the propane torch out and started heating and bending. You can see the first in the picture together that I tried 2 different start and end points. One has them joined at the point and the other has them joined at the inner curve. I think I like the inner curve join better because then all the points look uniform. Not that you'll be able to see them in the dark anyhow. For the third star I hung the plywood up so I could spin it around instead of me having to spin around the plywood as I bent the steel. I like this way better although I need to make it no spin so easily. I'll probably end up bolting it with 2 washers so I can restrict it's movement a little instead of the free spinner version I have now. Then I took some 18"ish pieces of round bar for the "tails" and put 1/4-20 threads on 1" of it. Got some 1/4-20 splice nuts at the store and I plan on welding the nuts to the stars then just screwing the tails in. It will make for easy breakdown and storage.

") Looks Great.
Looks Great.