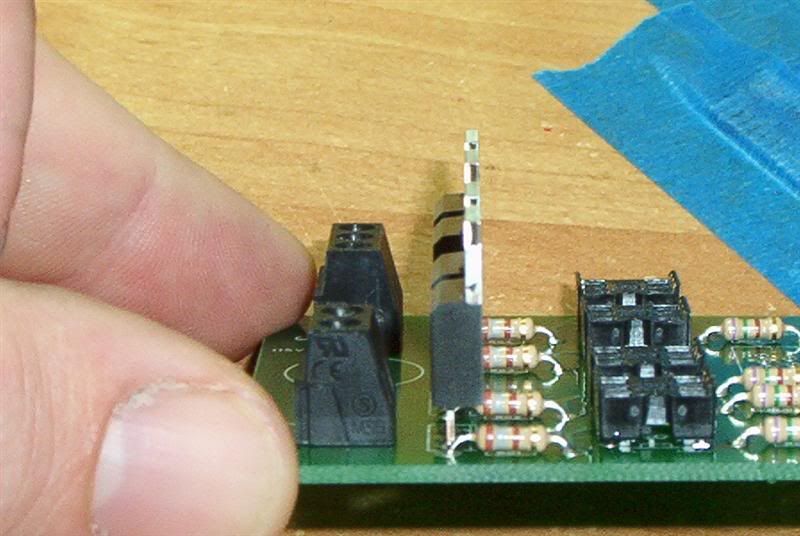
If you plan to use a heatsink on the triacs, then keeping them straight and inline is important. I have this little trick to help do this. I have built over 70 ssr boards with this method, and it works great.
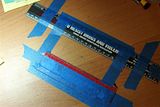
First, you need two straight edges, some masking tape, and a tape measure.
Take the two straight egdes and set them parallel with each other. The distance between them depends on the board you have, but for the SSR 2.4, it is 1 13/16"
Tape them down to the work surface making sure that the board will fit in a way that is comfortable to solder the triacs.
Put the triacs in the pcb, flip it over into the fixture and push the triacs against the straight edge and then let the pcb slide back to the other straightedge. Then go through and solder the middle pin of the triacs first. Finish soldering them and VOLIA .... nice striaght and in line triacs.")
(click for full size)


First, you need two straight edges, some masking tape, and a tape measure.
Take the two straight egdes and set them parallel with each other. The distance between them depends on the board you have, but for the SSR 2.4, it is 1 13/16"
Tape them down to the work surface making sure that the board will fit in a way that is comfortable to solder the triacs.
Put the triacs in the pcb, flip it over into the fixture and push the triacs against the straight edge and then let the pcb slide back to the other straightedge. Then go through and solder the middle pin of the triacs first. Finish soldering them and VOLIA .... nice striaght and in line triacs.
(click for full size)