Experience Lights Genius 16 port controller YPS small enclosure build

etterm

Supporting Member
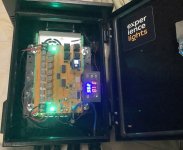
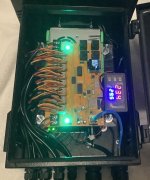
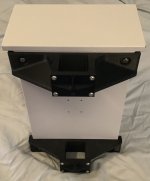
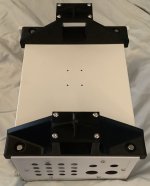
A preview of what I am trying to accomplish. (Waiting for some parts to arrive to complete.)
Yes, controller with be mounted vertically. (I tried mounting it horizontally, but door lock will contact board components.)

YPS ( Your Pixel Store ) small enclosure box. 16 - 2 , Black edition , with vents and non-removeable bottom.
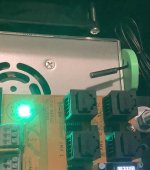
Experience Lights 16 Output Pixel Genius Controller.
2 X 360W power supplies. One Meanwell & One Generic. (Meanwell will be used to power to the board & ports 9 - 16 & generic will power ports 1 - 8.)
YPS temperature & thermostat controller (will be mounted vertically also.)
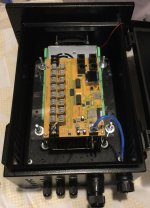
ENCLOSURE.jpg
 
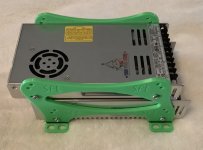
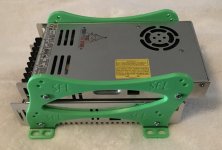
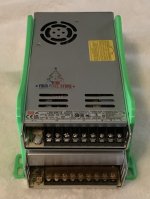
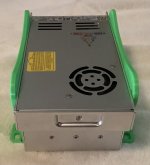
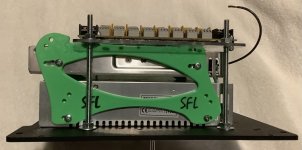
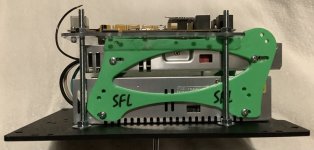
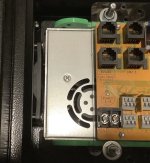
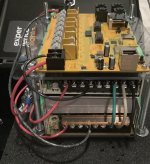
I bought the double stack , power supply mounting bracket from Your Pixel Store. I liked the staggered mounting of power supplies. I found out quickly that it was going to need some modification. This is the mount before modifying. The mounting feet had to be removed because they interfered with the mounting bolts that come up from the mounting plate. So, the bottom power supply is held in place with (4) screws to the bottom of plate.

Mount.jpgMount1.jpgMount2.jpgMount3.jpg
 
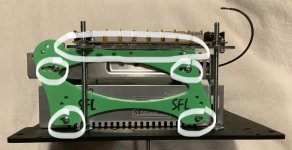
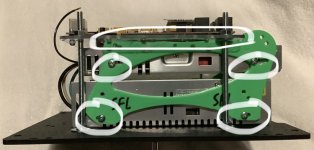
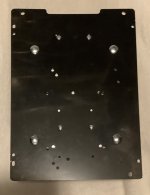
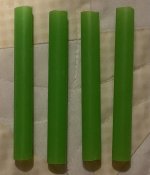
By these pictures you can how much material of the mount I removed (white circles in pictures.) The side mounting holes for the top power supply mount had to be extended forward so I could get the power supply to clear the fan. It still provided the staggered mounting of power supplies. Quite a bit of material was was removed so I could get the pixel controller to clear door latch. Also, Ethernet cable was being pushed down by door causing pressure to be on Ethernet cable & port. The pixel controller mounting plate is basically being supported by the SFL power supplies mount. I had cut a couple of boba drink straws to be supports for the long mounting bolts but I think I am not going to use them.
Still waiting on a couple of parts that were supposed to arrive today but didn't.

Modified.jpgModified1.jpgModified2.jpgModified3.jpgModified4.jpgModified5.jpgModified6.jpg
 
this looks great. I personally run to a plastic store (Tap Plastic) and buy scrap sheets of acrylic for like $1 a piece and just make my own mounting boards
 
this looks great. I personally run to a plastic store (Tap Plastic) and buy scrap sheets of acrylic for like $1 a piece and just make my own mounting boards
I thought about making my own mounting boards but I was hoping the the dual power supply mount would work without any modification. Plus, with my luck, I probably won’t be able to get the holes to line up.
I should of bought the medium enclosure from YPS so it would of been easier. I’m updating from a Cable Guard CG1500. I like that there is a bit more room in the YPS small enclosure than the CG1500. I also like that I was able to get 2 power supplies to fit. I’ve been thinking of get an HP power supply but I’m not sure.
 
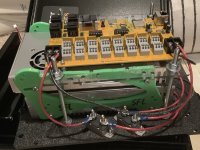
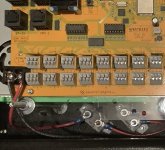
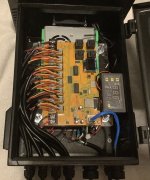
Added 2 circuit breakers and wiring to board. Circuit breakers might be over kill for protection but I don’t want to risk it.
I should getting to the other wiring done this week.

Wiring.jpgWiring1.jpgWiring2.jpg
 
I just got the temperature controller wired up & mounted. Temp probe fits through one of the holes on power supply mount. I'll zip tie it to hold it into place. I used JST-XH connectors to supply power to temp controller & to the fan so I didn't have to modify the wiring. I used Velcro to hold the controller on the pixel controller mounting plate.

Temp Cont.jpgTemp Cont1.jpgTemp Cont2.jpg
 
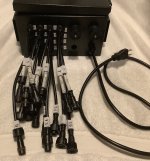
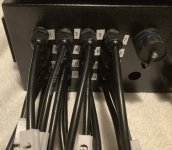
I got the pigtails wired in and they clear the door latch. I'm going to probably use Velcro cable ties to hold the pigtails in 2 groups of 8 just to hold them in place. I went overboard with cable numbering identification labeling. The extra hole on bottom of enclosure is for what I'm guessing another power cord but I think I am going to enlarge it to accommodate another RJ45 waterproof connector for future long range genius controllers.

I'm also trying to figure the best way to mount the enclosure. It is a lot heavier than the CG1500 enclosure I was previously using.

Pigtails.jpgPigtails1.jpgPigtails2.jpgPigtails3.jpg
 
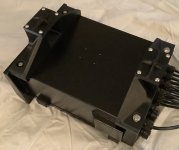
Just an FYI. I weighed the enclosure (last picture from previous post) and it comes in at just a little under 16 pounds.
 
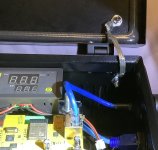
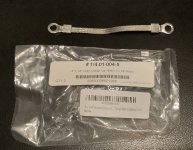
Added a 4” x 1/4” braided ground strap which goes between door & enclosure body. Ring on strap needs to be installed offset. It interfered with gasket around door. I used 5mm flat washers & lock nuts for install hardware. The ground straps I bought from Amazon.

IMG_1512.jpegIMG_1513.jpeg
 
Back
Top