Submaster Lighting Channels: Difference between revisions
(Copied from GSM) |
(navigation) |
||
| Line 23: | Line 23: | ||
[[ | {| class="wikitable" | ||
[[Category: | ! colspan="3"| [[HLS User Manual and Reference Guide]] | ||
|- | |||
! align="center"|Previous Page | |||
! align="center"|Current Chapter | |||
! align="center"|Next Page | |||
|- | |||
| align="center" | [[Fill Effects]] | |||
| align="center" | [[HLS User Manual and Reference Guide#Sequencing_Channels_and_Adding_Effects | Chapter 5: Sequencing Channels and Adding Effects]] | |||
| align="center" | [[Sequencing with RGB Channels]] | |||
|} | |||
<br /> | |||
[[Category:HLS User Manual]] | |||
Revision as of 02:14, 2 February 2013
Copied from Getting Started Manual.
In need of revision.
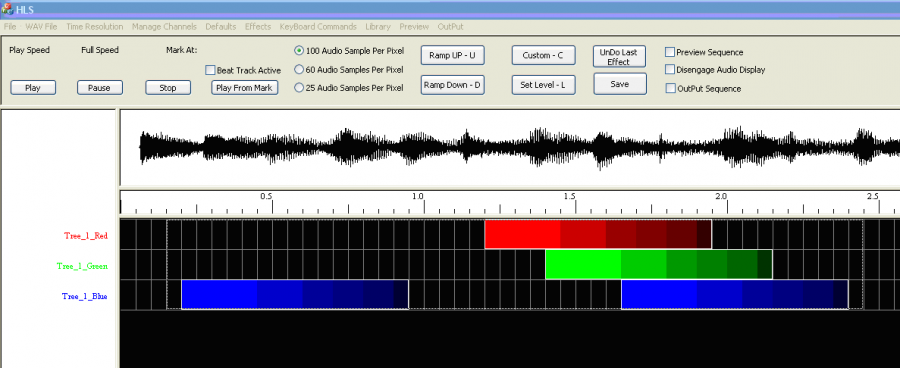
This tool can be used to put an overall ramp over a portion of a sequence. For example, imagine a song that builds in volume and excitement over the first 5 seconds and slowly decreases in volume and excitement over the last 5 seconds. You might want to have your effects present from the start, but have the effects grow in intensity as the song builds over the first 5 seconds. You might also want the reverse to happen at the end. This tool can accomplish that. You program your channels in the regular way and then apply this tool over the top. Figure 1-77 shows the beginning of a song. We would like to add an overall Ramp Up over the beginning so we still see the effects but they grow in intensity.
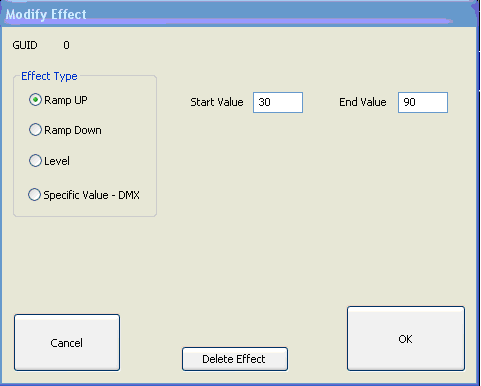
Note in Figure 1-78 that you can also Ramp Down, set or set a level. You can also delete an Apply Over Control Ramp effect.
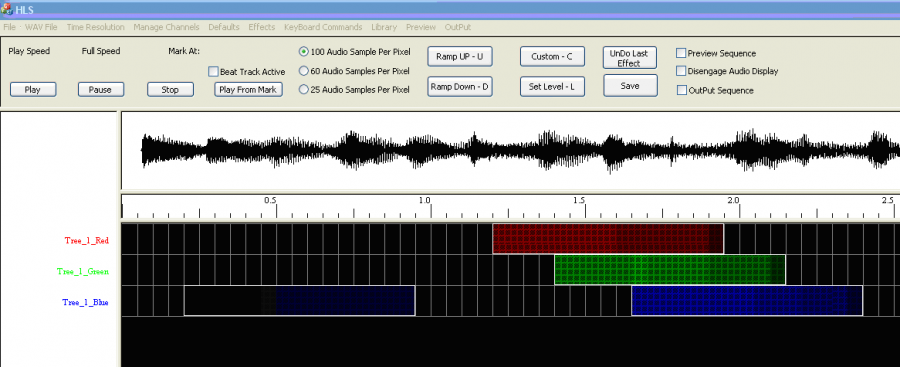
Figure 1-79 shows what the screen looks like after the effect is applied.
| HLS User Manual and Reference Guide | ||
|---|---|---|
| Previous Page | Current Chapter | Next Page |
| Fill Effects | Chapter 5: Sequencing Channels and Adding Effects | Sequencing with RGB Channels |


