Talk:Candy Cane Upgrade to Rope Light
Materials
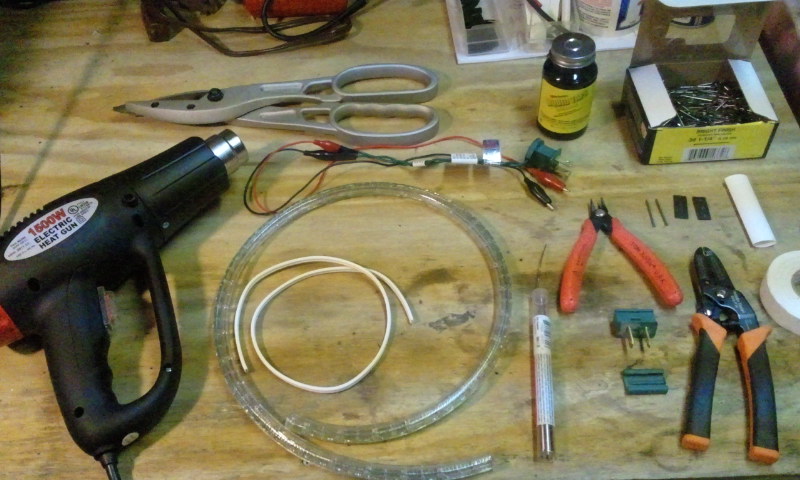
In this tutorial we will be using the materials.
Gather your materials, supplies and tools.
1. Rope Light 12" or 18" Cut spacing.
2. Power Cord, pictured is SPT1, approx. 24" in length.
3. Male Vampire Plug.
4. 1/4" Heat Shrink Tubing, 2 pieces 1" long.
5. 1/2" Heat Shrink Tubing, 1 piece 3" long.
6. Liquid Electrical Tape.
7. 1 1/4" 3d nails, qty. 2.
8. White electrical tape.
9. Wire Cutters and Strippers.
10. Heavy Duty Cutters.
11. Heat Gun.
12. Solder and Soldering Iron.
Assembly
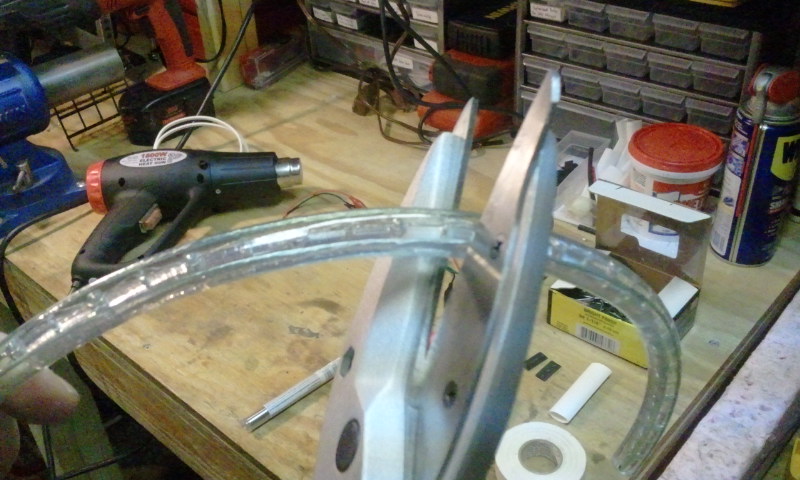
Start by cutting your rope light down to size. For this project I had purchased a 150' spool of rope light that had 18" cut spacing. I cut the rope light down to 3' sections.
Assembly
Start by cutting your rope light down to size. For this project I had purchased a 150' spool of rope light that had 18" cut spacing. I cut the rope light down to 3' sections.
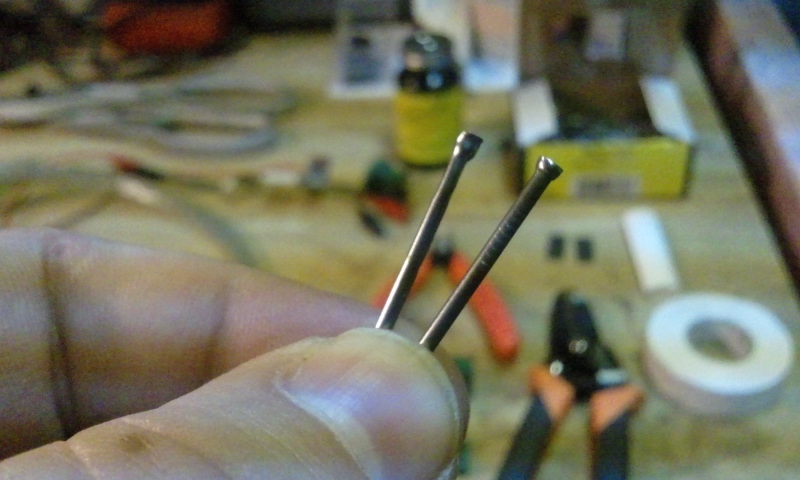
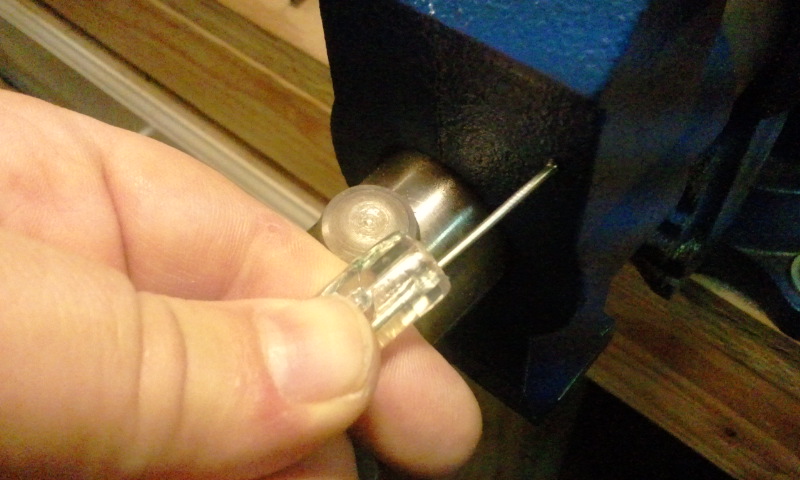
You will need two 1 1/4" 3d nails. These will be put into the rope light to create terminals.
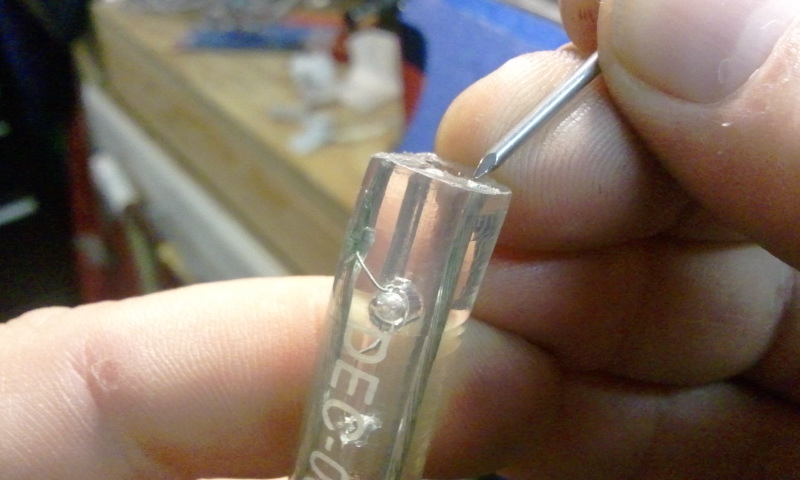
Place the first nail at one of the braided wires in the rope light.
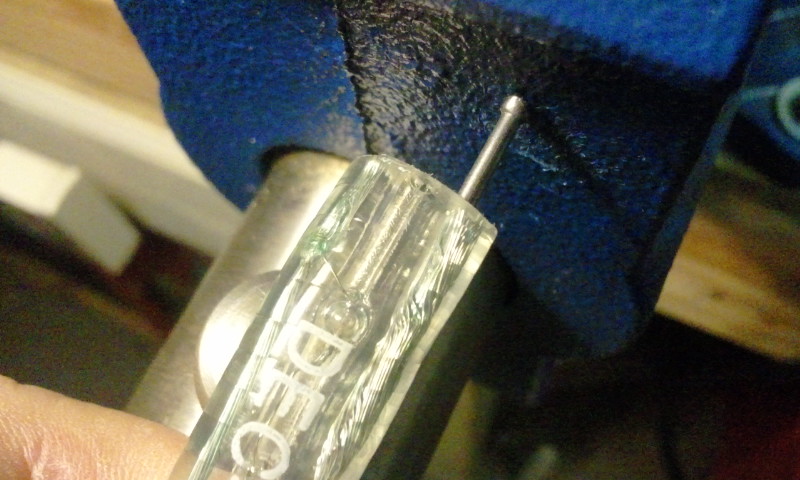
Using hard surface, push the nail into one braided wire.
This is the nail nested in the braiding.
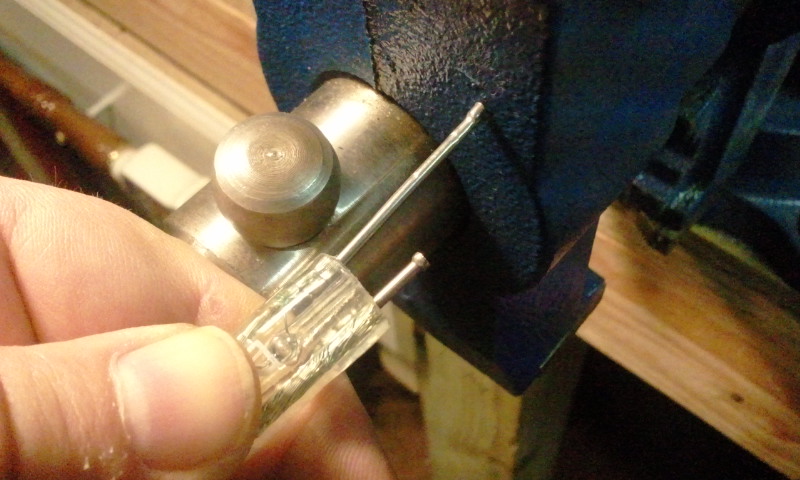
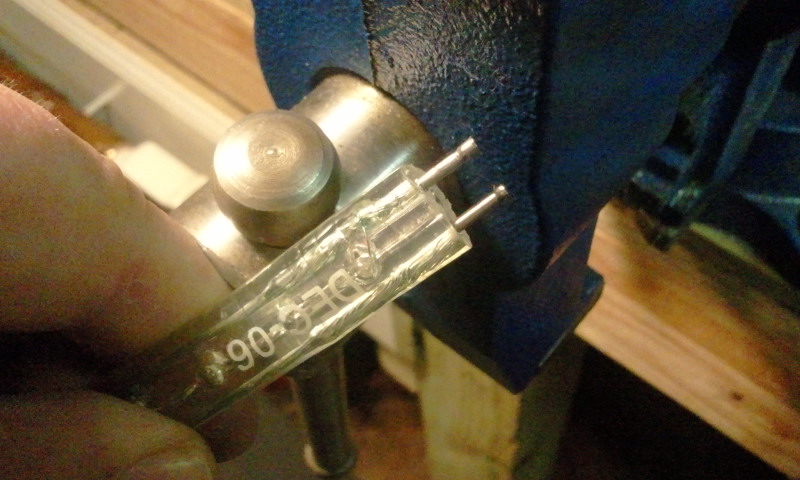
Repeat with the other nail on the other side of the rope light braided wire.
Both nails inserted.
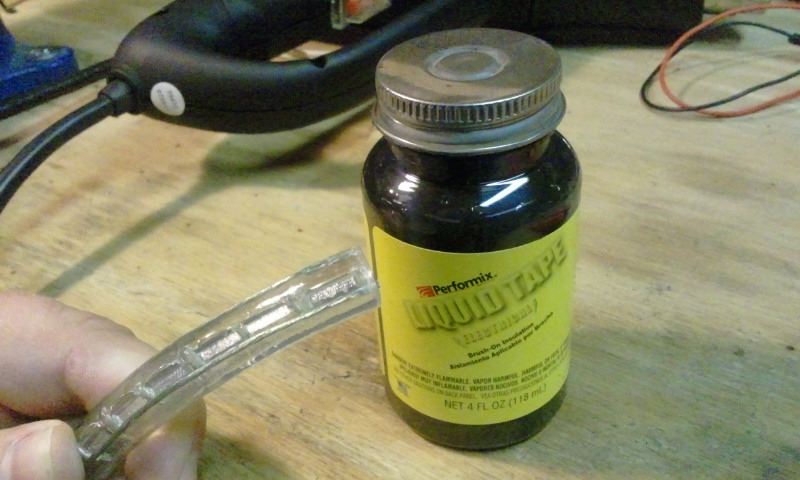
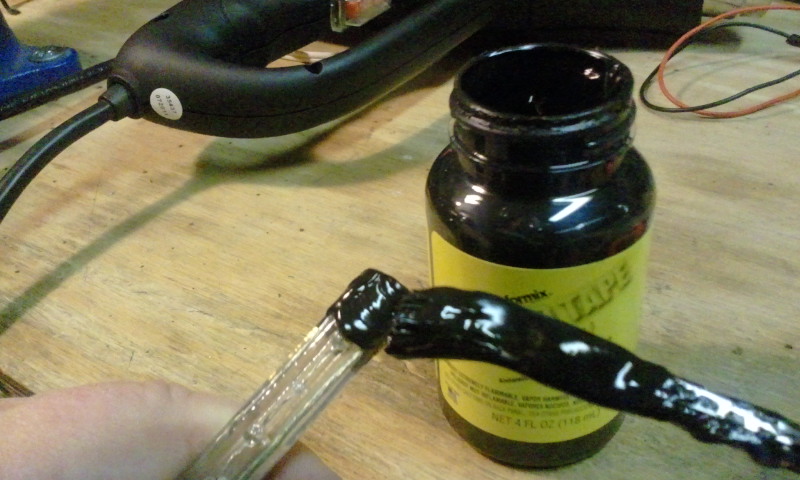
Use liquid electrical tape on the other end...
... to protect and cover the exposed braided wire of the other end of the rope light.
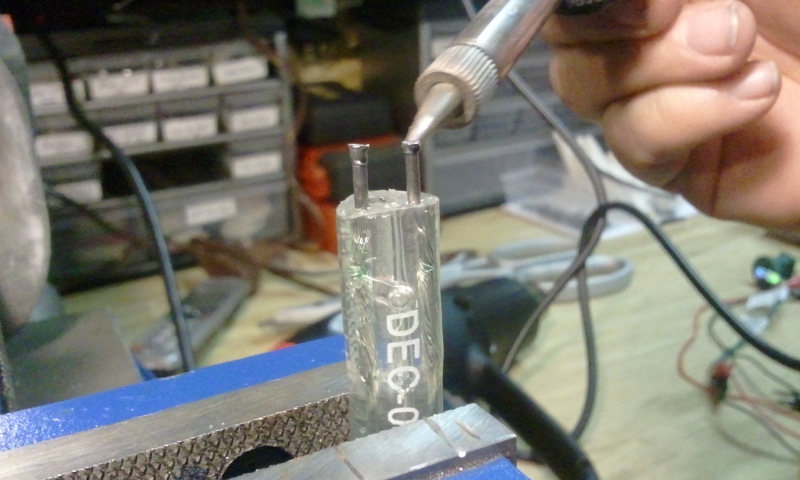
Using the soldering iron to heat the nails.
Apply solder to the heated nails to connect them to the braided wires in the rope light.
Completed soldered terminals.
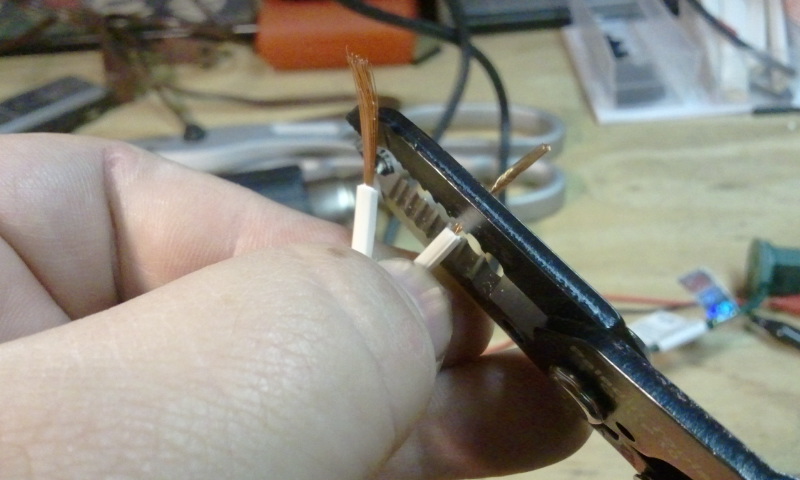
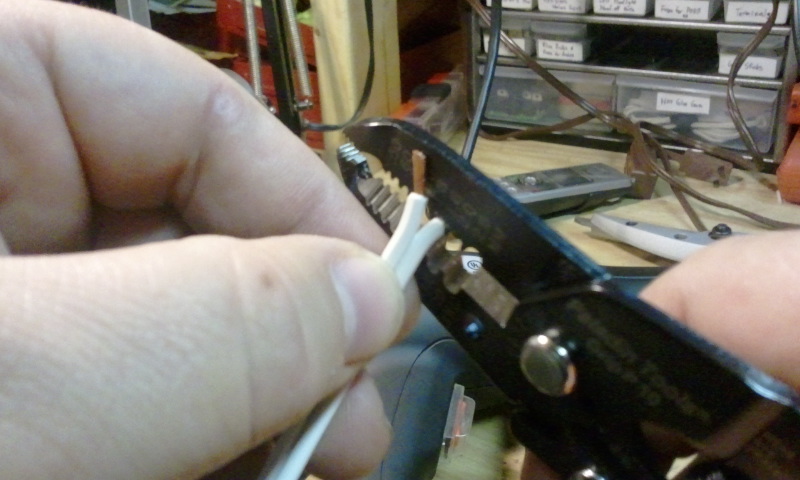
Using the 2' of SPT1 electrical wire, strip off about 1" of the casing on both leads.
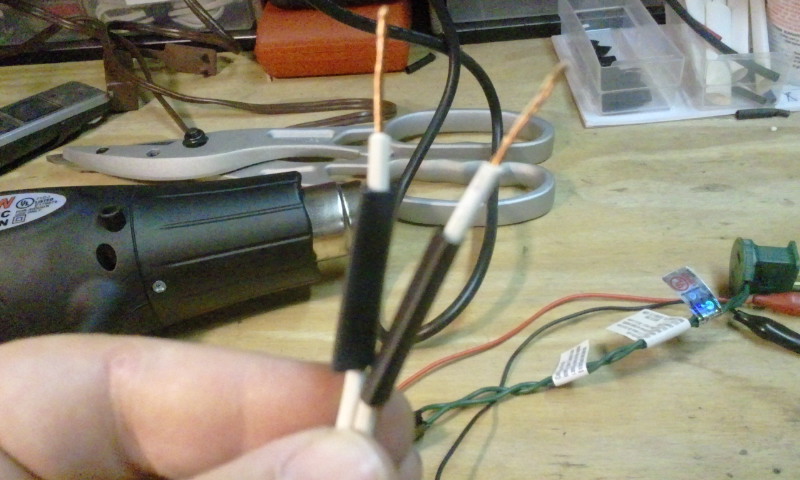
Place the 1" pieces of 1/4" Heat Shrink Tubing on the stripped wire leads.
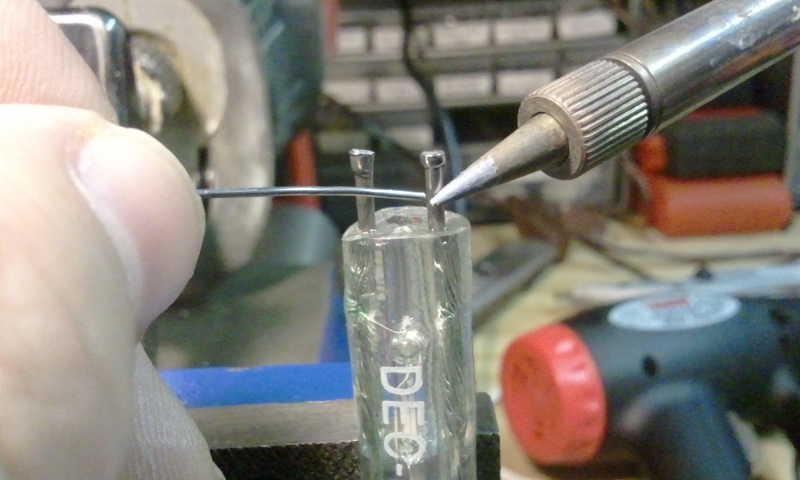
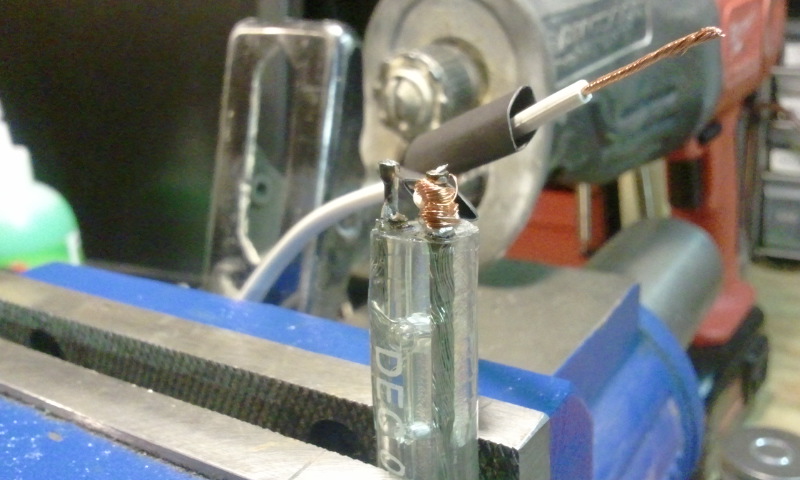
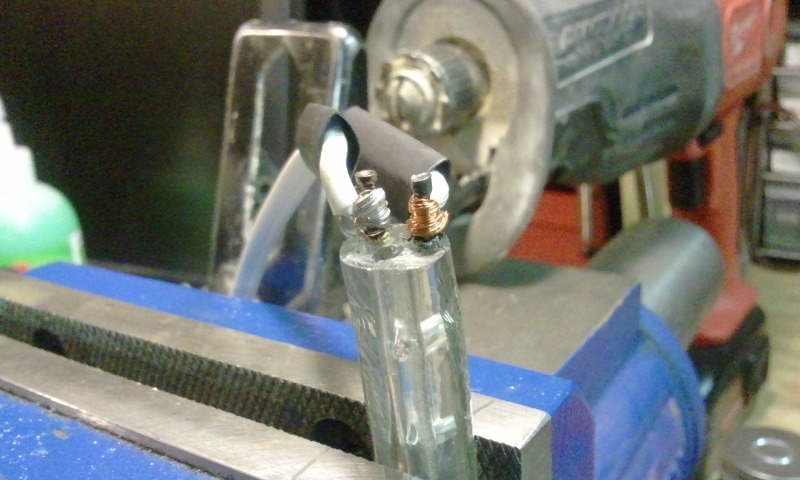
Use one of the leads and wrap it around one of the nails ends terminals of the rope light.
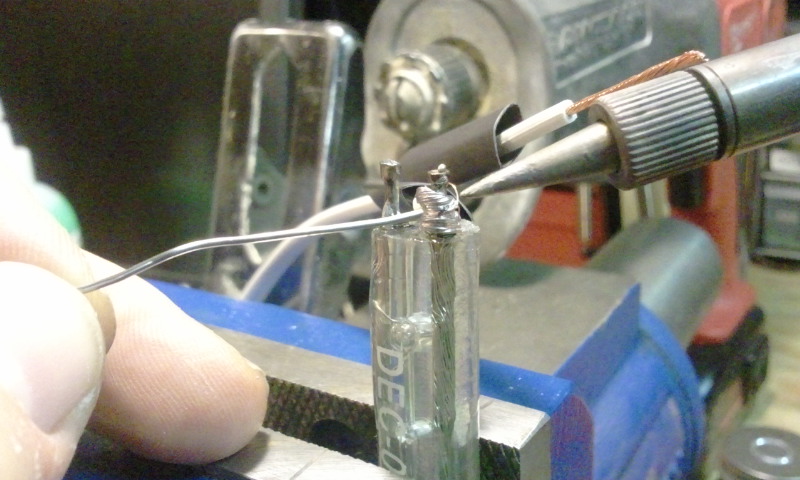
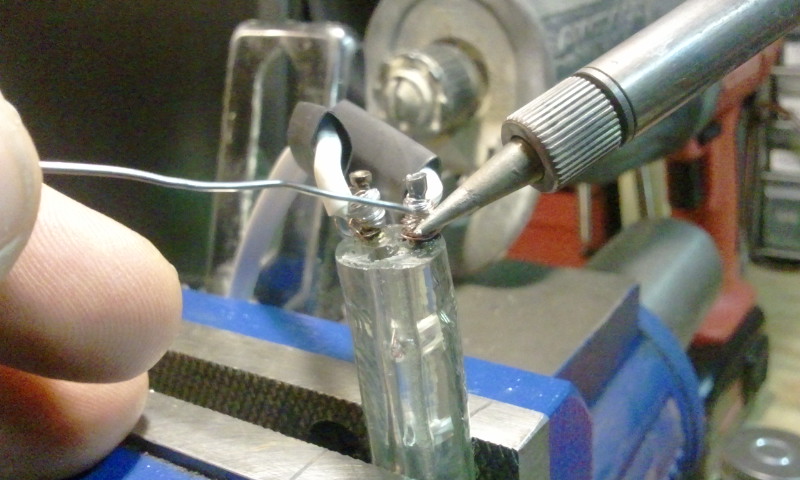
Use the soldering iron and solder to attach the wrapped wire to the nail end.
Repeat the wrapping of the wire to the other remaining nail terminal end.
Also repeat the soldering of the wrapped wire to the nail.
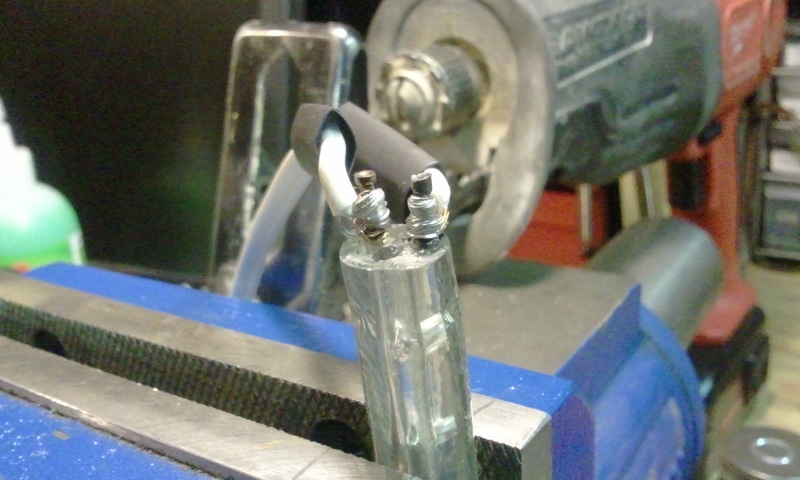
Finished attached wires.
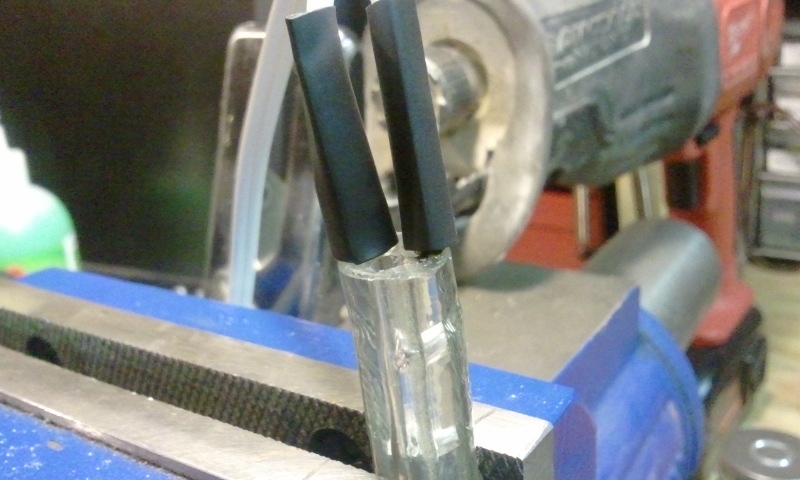
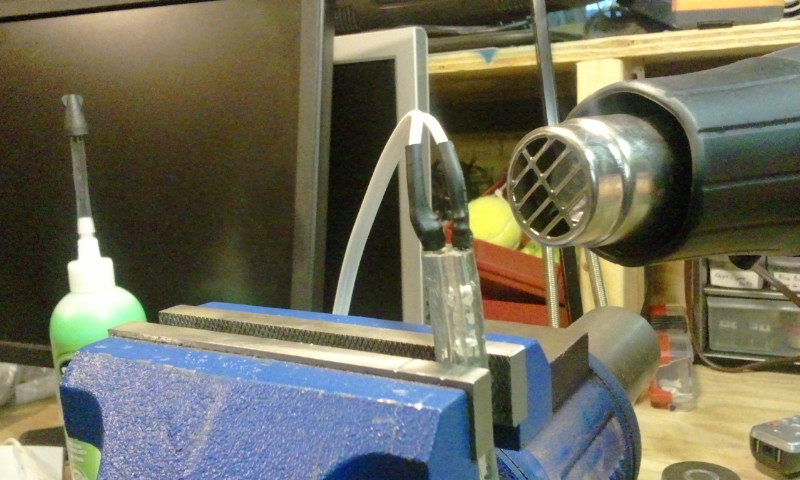
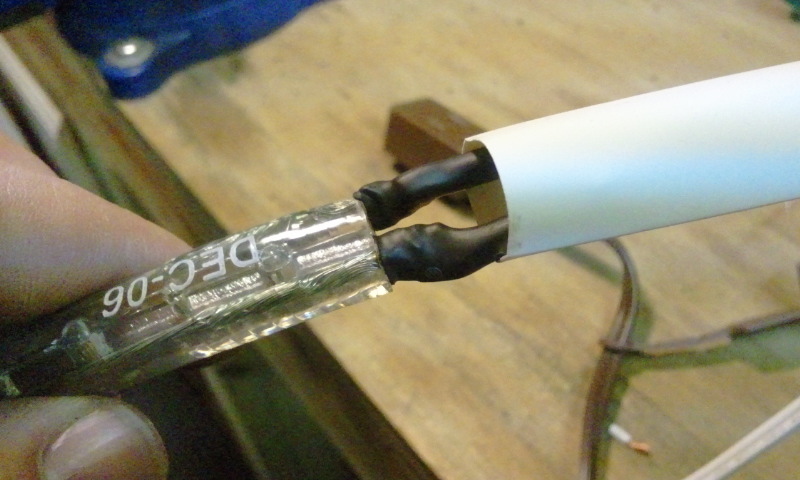
Move the heat shrink tubing over the top of the wire terminals.
Use the heat gun to shrink the tubing to the terminals.
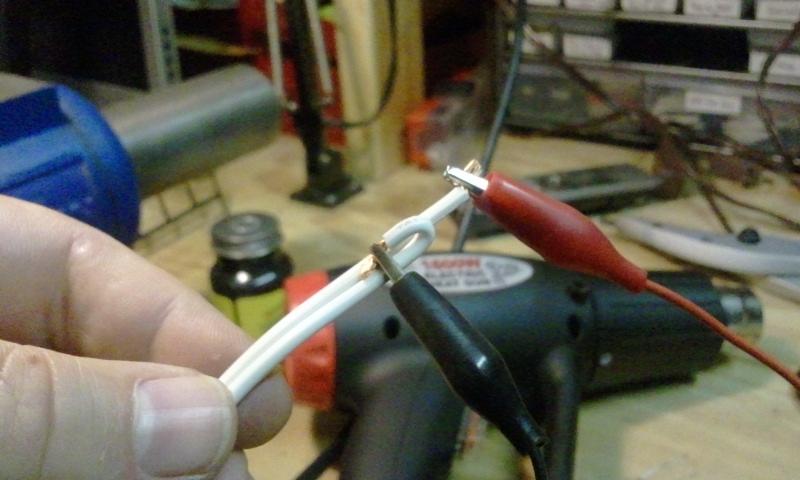
Moving to the other end of the wire, strip a small amount of the casing off to test the lights.
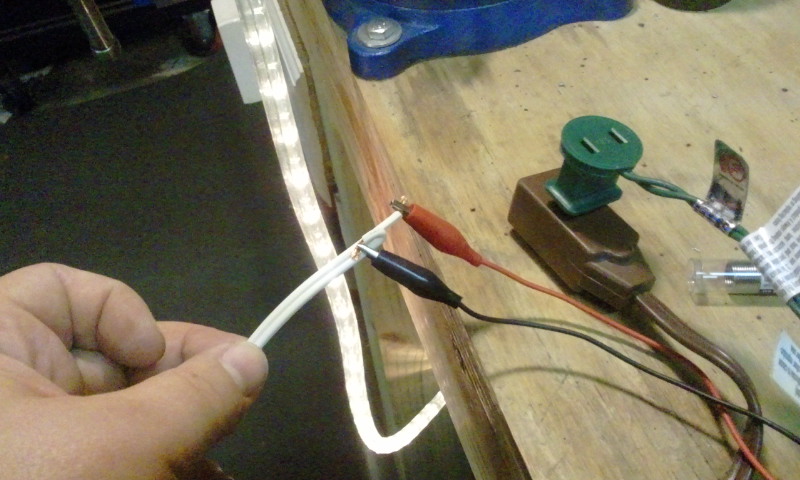
Connected the wire for testing.
Connected wire to power, CAUCTION, open 110v. Be very careful when plugged in in this manner. Lights should turn on.
Trim off the test leads.
With the rope light working, time to seal the connection.
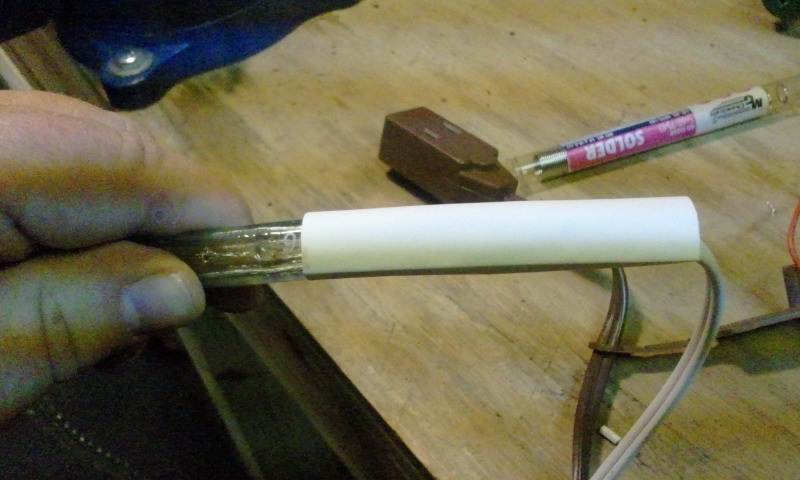
Slide on the 3" piece 1/2" Heat Shrink Tubing, making sure that about 1" of the tubing is one the rope light.
