Starting a new HLS Sequence
The following tutorial is based on version 11V.
When you Open HLS, you are already creating a new sequence. You may only have one sequence open at a time. If you are working on one and want to start another one, save your current sequence, shut HLS down, and then restart HLS and work on the new sequence.
"I always start out with audio, because everything I do is associated with audio." - Joe Hinkle, 2-2-12 "The whole key to HLS is to tie everything, even pixel plane effects, to syncronize them to your music." - Joe Hinkle, 1-25-13
Through all the changes to HLS in almost a year, the same principle remains true: Audio is where it begins. Therefore, the first step is to add the audio. (However, if you want a sequence without audio, select No Audio in this Sequence and move on to Time Resolution.)
- Add a mp3 or wav file:
- Note: mp3 files were allowed starting with version 6V. If you want to convert a mp3 to a wav file there are free converter programs on the web. Here is a link to one of them -mp3 to wav converter
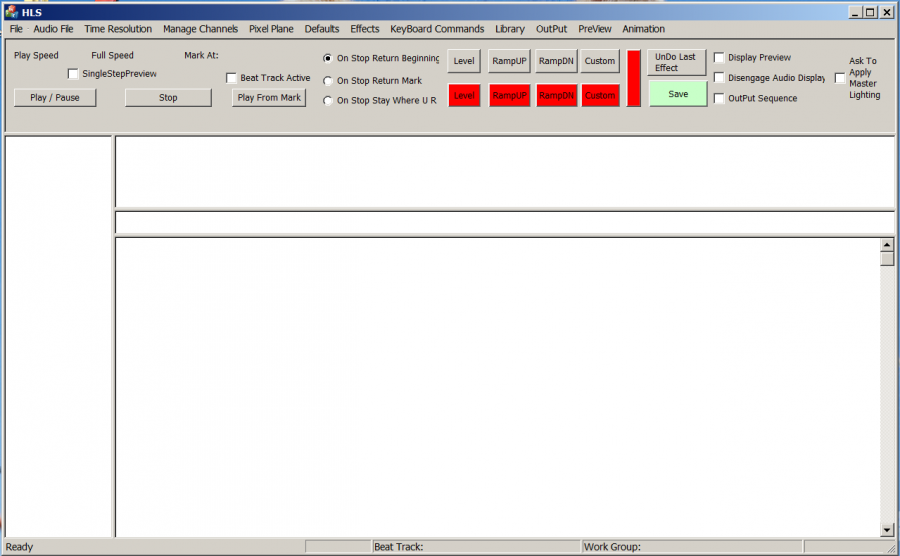
Figure 1-1
- Choose a WAV or mp3 file for the music to be used in this sequence. Click on the Audio File menu item at the top of the HLS screen and choose "Add Wave or mp3 File to this Sequence". Figure 1-2 will appear.
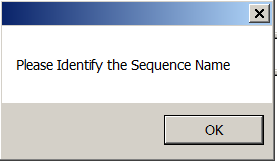
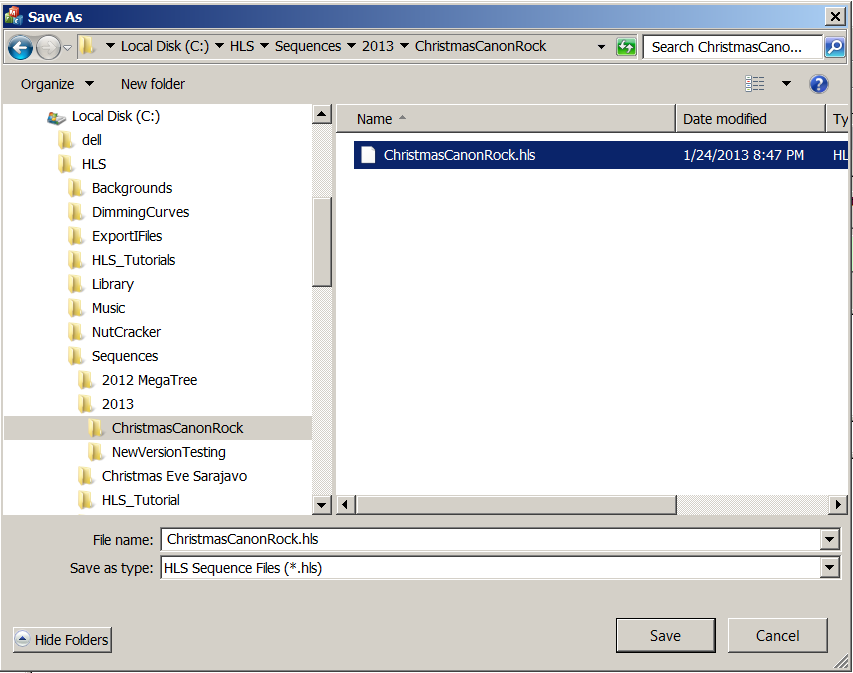
- You will now name your sequence file and point HLS to where you want to save it
- Don't forget to follow the suggested folder hierarchy by creating a folder inside the HLS\Sequences folder with the same name as the new sequence.
- In the example given, a folder named ChristmasCanonRock has been created in the c:\HLS\Sequences folder. Then, enter that folder and type the sequence name ChristmasCanonRock and click SAVE.
- Don't forget to follow the suggested folder hierarchy by creating a folder inside the HLS\Sequences folder with the same name as the new sequence.
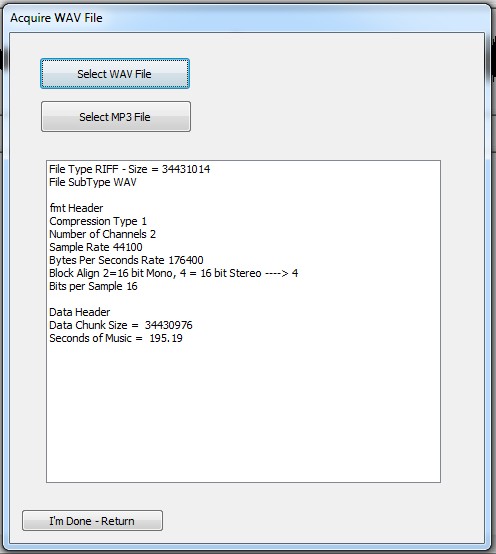
- After you name your sequence and save it, figure 1.2a will appear:
Figure 1.2a
File:Aquire WAV File.jpg
Next select either a WAV or mp3 file. In this example Music Box Dancer WAV will be chosen (see Figure 1-3).
After you have chosen the WAV file, the screen shown in Figure 1-4 will appear.
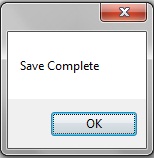
After the text appears in the screen showing the WAV file was added, click on the "I’m Done – Return" button. You should get a save confirmation message like figure 1.4a
- Audio has now been setup and the sequence file has been saved. The next step is to tweak the Audio File.
| HLS User Manual and Reference Guide | ||
|---|---|---|
| Previous Page | Current Chapter | Next Page |
| Chapter 1: Getting HLS | Chapter 2: Creating a Sequence | Audio File |
