Hardware Configuration
Copied from Getting Started Guide. In Revision.
Feel free to help!
Documentation still to Write:
- Specific Info re: Renard, DMX, LOR, E1.31, etc.
- Universe Setup
- Testing Hardware Setup
Hardware output settings let HLS know how you will get your sequence information to your actual light controllers. These controllers could be connected via Com ports (either USB acting as Serial or direct Serial ports), via Ethernet cable, or via a wireless network.
Once physical hardware connections are defined, HLS then needs to know what "language" to use when outputting sequence data to your controllers: whether that is Renard, DMX, sACN, etc.
Setting Up Com Ports
The first thing you will need to do is determine what port numbers are assigned to your com device(s). For Windows, you can follow this guide.
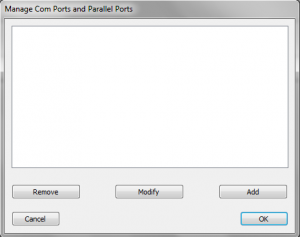
- After determining port numbers, click Output -> Setup COM Ports in the HLS main menu (see Figure 9-3).
- To add a new COM port, click Add.
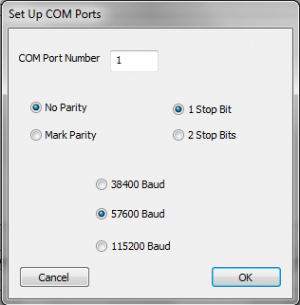
- In the window that opens, enter the appropriate COM number, then click OK (see Figure 9-4).
- Note: Other settings are correct by default and most likely need not be adjusted.
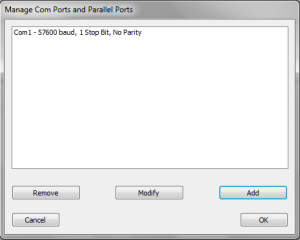
- Once your port(s) have been added, they will appear in the COM Port Manager (see Figure9-5).
- If you need to modify or remove a port, select it and click the appropriate button.
- Once done adding and modifying COM ports, click OK.
Setting up a Network (E1.31)
- Network card determination: Plug cable, remove cable.
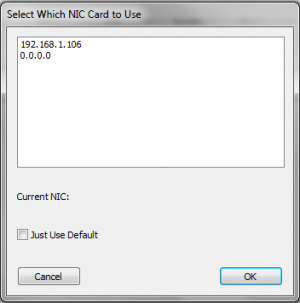
- To setup the use of a network card, click Output -> Select Specific NIC Card (see Figure 9-6).
- Select the appropriate IP address for the network card you wish to use.
- Note:' This can be a physical connection or a wireless connection.
- If you check Just Use Default, HLS will send out network data on whichever network connection you have set to default and active at that time.
- Once you have selected your network connection, click OK.
Old Version Portions that Still Need to be Updated
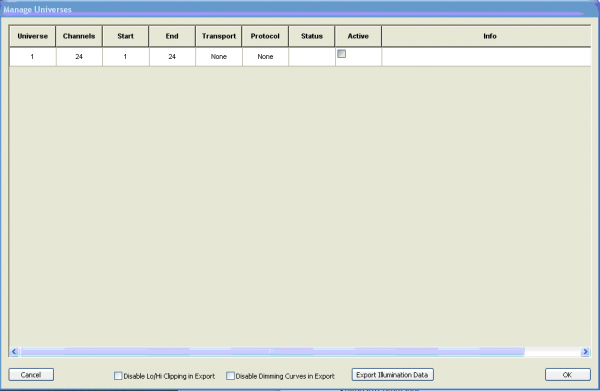
In Figure 1-49 notice that universe 1 is the one we are working with for output. We only used universe 0 for the beat track. In this example we are only using one Port and one protocol (Renard), so only one universe appears here. Next choose Output from the top tab again and then Select Output Method.
Next you must configure three things: Transport (Port to use), Protocol (Renard in this example), and make the universe active in the Active checkbox. First let’s choose the Transport.
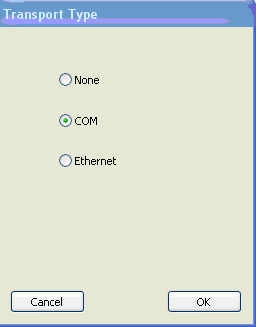
In Figure 1-50 COM was chosen in the example (we will be using Com port 1 that we already configured).
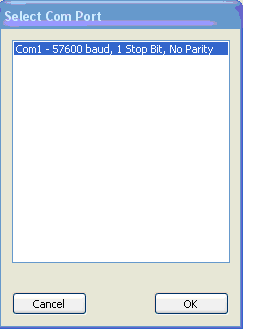
Make sure you select the Com port you want to use before clicking OK. Note that Com1 is highlighted in Figure 1-51.
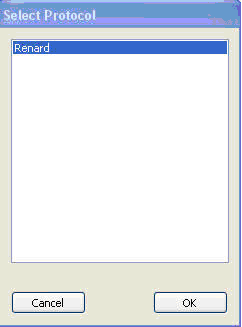
After you choose OK the screen shown in Figure 1-52 will appear. Note that Renard was chosen. Make sure it is highlighted before you click OK.
Figure 1-53 shows that the status of the Com port is 1 (good) and you must set the checkmark under Active for the output to be active.
To run the sequence with actual outputs make sure your Renard is plugged into the COM port you specified, click on the check box for OutPut Sequence on the upper right of the screen (see Figure 1-54). Note that when you do that the check box for Disengage Audio Display will also be checked so that the audio display does not run during actual output.
Hit the play button and lights should flash according to your sequence.
