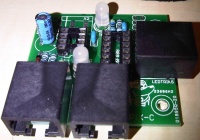
PIX-C
Background
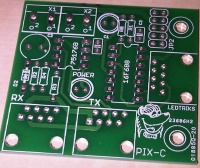
In the beginning the world smelled mostly of Nutmeg, and mulled cider. At that time Robert Jordan had an idea to create a DIY LED sign that could easily be made by the home Blinky Enthusiast. He called it LEDTRIKS and he showed it to the masses, and they thought it was good. In time however the world grew tired of Nutmeg and craved the spiceness of Gingerbread and TimW entered the scene. He designed a small controller that could offload the repetative task of refreshing the LED panel from the PC. He called it TRICKS-C and he showed it to the masses, and they thought it was good. While sitting looking at his LED panel Andrew Williams(no relation to TimW) theorized that he should be able to build a controller compatible with TRICKS-C, without the need to learn a new micro, purchase new tools, or install a new tool-chain. Entitled the PIX-C this controller will duplicate the functionality of the TRICKS-C, but use only parts already used on a typical RENARD controller. Now if only the world would smell like Candy Canes.
The Files
Schematic
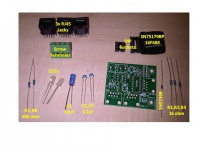
Bill of Materials
Gerbers
Will be uploaded to the FILES section
Firmware
HEX file to be uploaded.
Build Instructions
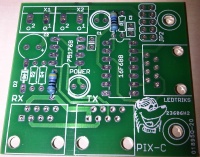
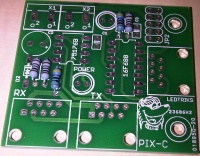
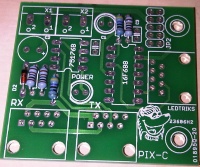
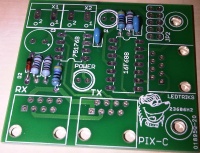
Step 1 - Install 470 (R3,R8) ohm resistors
Step 2 - Install 1K (R1,R2,R4) ohm resistors
Step 3 - Install 1N5139B diode (NOTE: Orientation!)
Step 4 - Install 0.1 uf (C1,C3) capacitors
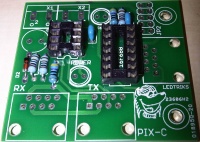
Step 5 - Install DIP sockets (NOTE: Notch/Pin 1 orientation)
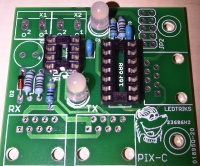
Step 6 - Install LEDs (may not appear as shown)
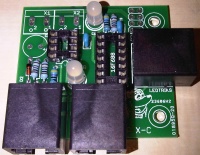
Step 7 - Install RJ45 jacks (may not appear exactly as shown)
Step 8 - Install 10 uf (C2) capacitor (NOTE: Polarity !!)
Last Step - insert the RS485, and PIC chips into their sockets.
- NOTE: PIC should be programmed in advance. Do not attempt to use the "In Circuit Programming Header" as there is insufficient clearance to do so.
Controlling the PIX-C
The PIX-C is backwards compatible with the TRICKS-C and is thus controlled by the DOS LTC.exe program.
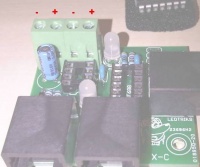
Power connections are shown in the following diagram.
