Creating a PixelPlane: Difference between revisions
Jump to navigation
Jump to search
| Line 45: | Line 45: | ||
--> | --> | ||
==== | ====Displaying a PixelPlane in the Sequencer Window==== | ||
---- | ---- | ||
| Line 54: | Line 54: | ||
*'''Note:''' Do not add the actual pixel channels to the display group. ONLY add the one PixelPlane channel. (See Figure 6-x) | *'''Note:''' Do not add the actual pixel channels to the display group. ONLY add the one PixelPlane channel. (See Figure 6-x) | ||
*Then, set the Display Group to the PixelPlane group to begin working on it (Manage Channels -> Select Display Group to Work on). It will show as a single channel. (See Figure 6-y) | *Then, set the Display Group to the PixelPlane group to begin working on it (Manage Channels -> Select Display Group to Work on). It will show as a single channel. (See Figure 6-y) | ||
*'''Note:''' Review [[Configuring Display Groups]] for more detailed instructions. | |||
<br clear=all> | <br clear=all> | ||
Revision as of 17:22, 5 February 2013
This documentation is incomplete.
Current as of Version 12C.
What is a PixelPlane?
A PixelPlane is a grouping of pixels into a single channel that can be sequenced with complex effects on a macro level. By using PixelPlanes, HLS is able to completely remove the low-level complexity and allows the user to treat a large amount of channels as if they are one. Anyone sequencing with lots of pixels, using external programs like nutcracker, or looking for additional ways to "handle" pixels would benefit from this feature of HLS.
How to Create a PixelPlane
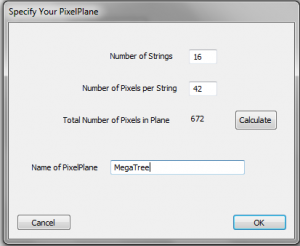
- The Specify Your PixelPlane window will open (See Figure 6-3).
- Enter the number of strings in your PixelPlane, the number of pixels per string, and then press the calculate button. (In the example used, 16 strings of 42 pixels were entered, which equals 16*42=672. Note that this is the number of PIXELS, not the number of CHANNELS.)
- Name your PixelPlane and click OK.
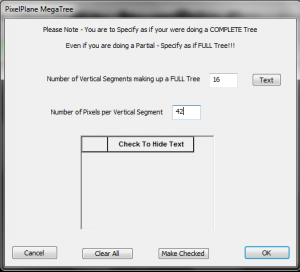
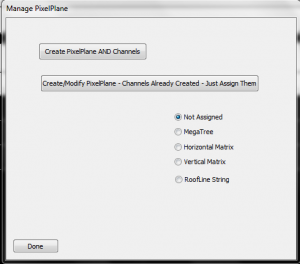
- Assign the type of PixelPlane that you have and then click "Assign Type of PixelPlane."
- Note:As of version 12H, only type "Mega Tree" is currently supported.
- Complete the fields to help HLS understand your PixelPlane object, then click OK (See Figure 6-4).
- Press Done to close the window. Your PixelPlane has now been created.
Assigning Channels/Universe to PixelPlane
In development.
Displaying a PixelPlane in the Sequencer Window
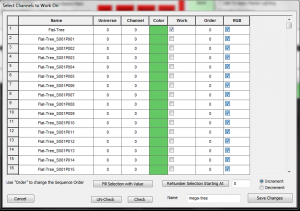

- Just like with any HLS channels, you must assign the PixelPlane to a Display Group to be able to work on it.
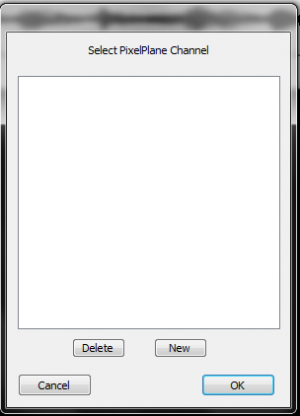
- Click Manage Channels -> Select Channels and Assign to Display Group. Click NEW to create a new group.
- Note: Do not add the actual pixel channels to the display group. ONLY add the one PixelPlane channel. (See Figure 6-x)
- Then, set the Display Group to the PixelPlane group to begin working on it (Manage Channels -> Select Display Group to Work on). It will show as a single channel. (See Figure 6-y)
- Note: Review Configuring Display Groups for more detailed instructions.
Sequencing Effects on a PixelPlane
Like any RGB channel, PixelPlane channels can have effects placed on them.
HLS has a built in PixelPlane Effect Editor, which can generate PixelPlane Effects.
HLS also supports dropping in effects from third parties, such as Nutcracker effects.
| HLS User Manual and Reference Guide | ||
|---|---|---|
| Previous Page | Current Chapter | Next Page |
| Chapter 5: Sequencing Channels and Adding Effect | Chapter 6: The PixelPlane | The PixelPlane Editor |
