Adding or Deleting Channels: Difference between revisions
No edit summary |
No edit summary |
||
| Line 7: | Line 7: | ||
In this example we will add 16 channels after channel 16. In Figure 1-23 channels 16 through the last channel were selected | In this example we will add 16 channels after channel 16. <br /> | ||
In Figure 1-23, channels 16 through the last channel were selected in the "Order" column. <br /> | |||
Figure 1-23.<br /> | Figure 1-23.<br /> | ||
[[File:Figure1-23.png]] | [[File:Figure1-23.png]] | ||
On the lower left there is an button for '''ReOrder Channels'''. <br /> | |||
In this example we would like to renumber channels 17 and on to begin at 33 (the next number after the 16 outputs channels we will be adding) and increment to 40. <br /> | |||
Place "33" into the "ReOrder Specific Channels" field, then click the '''ReOrder Channels''' button. | |||
Figure 1-24 shows the result. Notice that | Figure 1-24 shows the result. Notice that Order column 17 is now order 33. Also notice channel 16 is output 16. We now have a 16 channel gap. | ||
| Line 22: | Line 27: | ||
Next we will add 16 channels (see Figure 1-25). Note that 16 was entered in the '''Number of Channels Add | Next we will add 16 channels (see Figure 1-25). Note that 16 was entered in the '''Number of Channels to Add''' box. | ||
Figure 1-25.<br /> | Figure 1-25.<br /> | ||
[[File:Figure1-25.png]] | [[File:Figure1-25.png]] | ||
We now rename the channel names of the channels we just reordered so they corrospond to the the new order number. <br /> | |||
To do this select the cells in the "Channel" column and type in "Ch_(33)" into the box to the right of the '''Rename Selected Channels''' button as shown in Figure 1-25.1 | |||
Figure 1-25.1.<br /> | |||
[[File:Figure1-25.1.png]] | |||
Figure 1-25.2 shows the channel names now corrospond with the order number. | |||
Figure 1-25.2.<br /> | |||
[[File:Figure1-25.2.png]] | |||
Figure 1-26 shows that the channels were added and numbered correctly but they were added at the end. If you click on the '''Renumber all Channels for Output''' button the channels will be put in the correct order in the list. 17-32 will appear right after 1-16. | Figure 1-26 shows that the channels were added and numbered correctly but they were added at the end. If you click on the '''Renumber all Channels for Output''' button the channels will be put in the correct order in the list. 17-32 will appear right after 1-16. | ||
Revision as of 06:44, 1 February 2013
Back to: HLS Getting Started Manual
To add channels to a sequence that has existing channels choose the Manage Channels tab and then select Manage Raw Channels (See Figure 1-22).
In this example we will add 16 channels after channel 16.
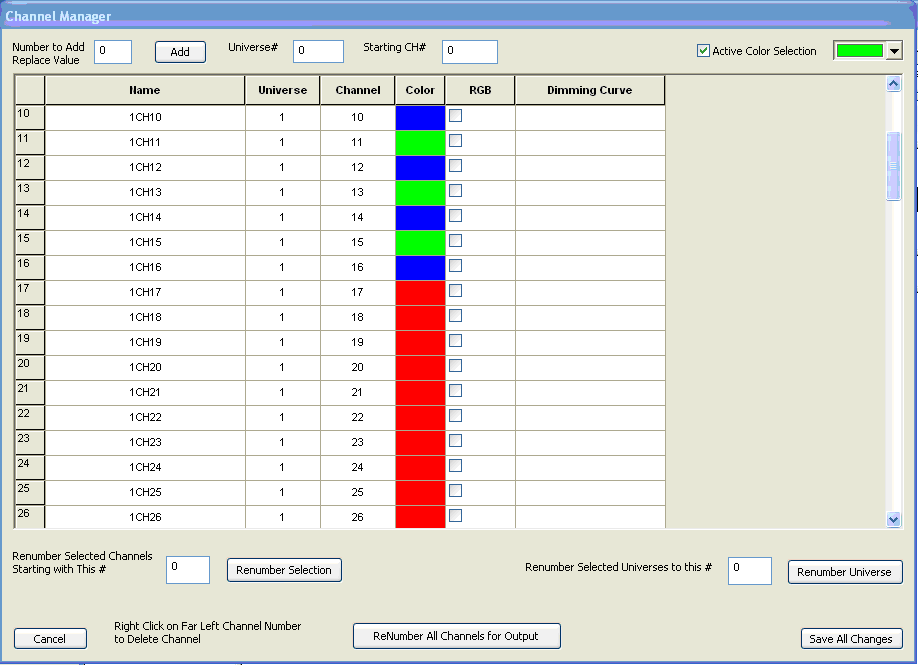
In Figure 1-23, channels 16 through the last channel were selected in the "Order" column.
On the lower left there is an button for ReOrder Channels.
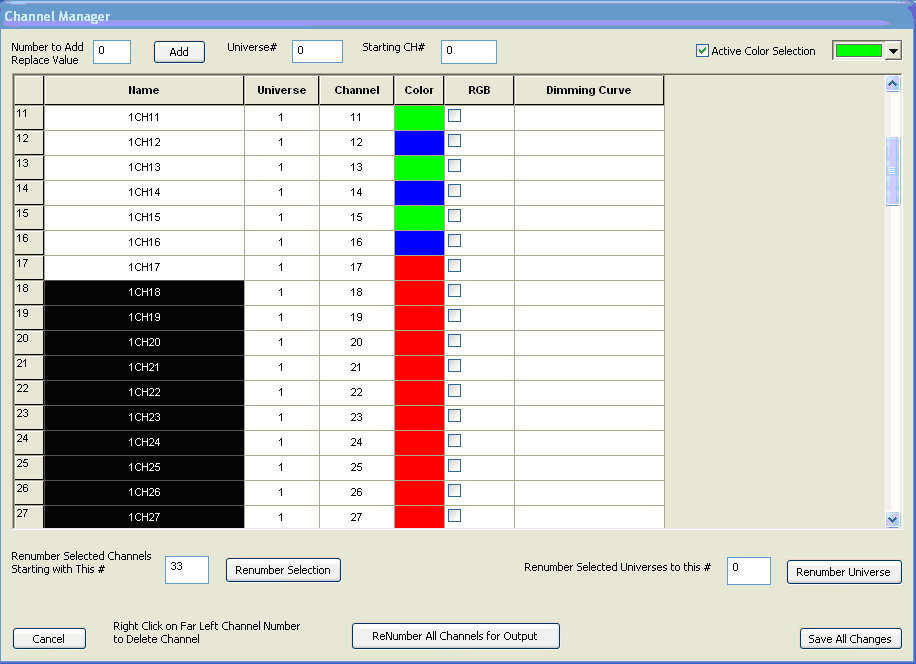
In this example we would like to renumber channels 17 and on to begin at 33 (the next number after the 16 outputs channels we will be adding) and increment to 40.
Place "33" into the "ReOrder Specific Channels" field, then click the ReOrder Channels button.
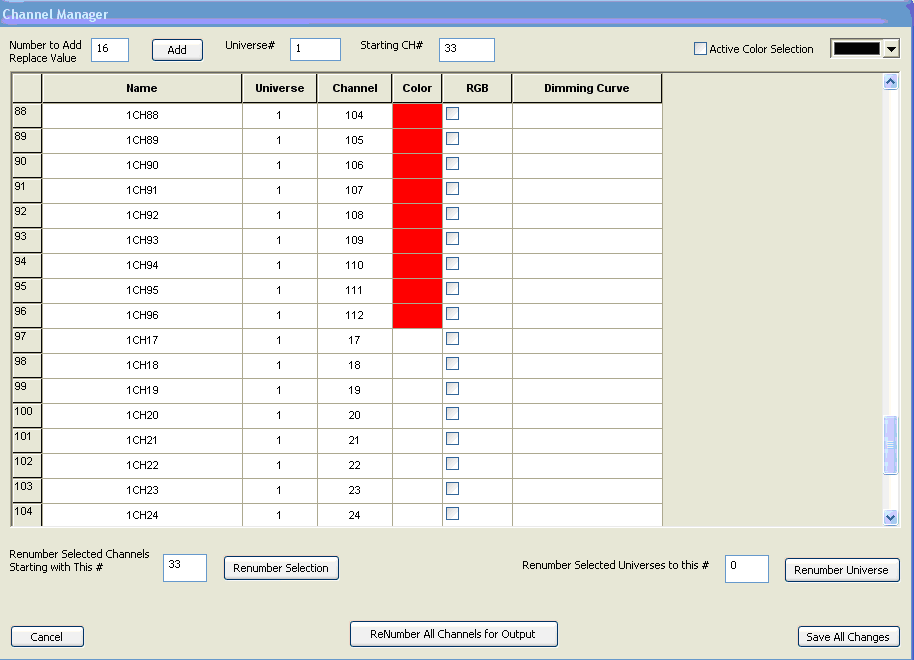
Figure 1-24 shows the result. Notice that Order column 17 is now order 33. Also notice channel 16 is output 16. We now have a 16 channel gap.
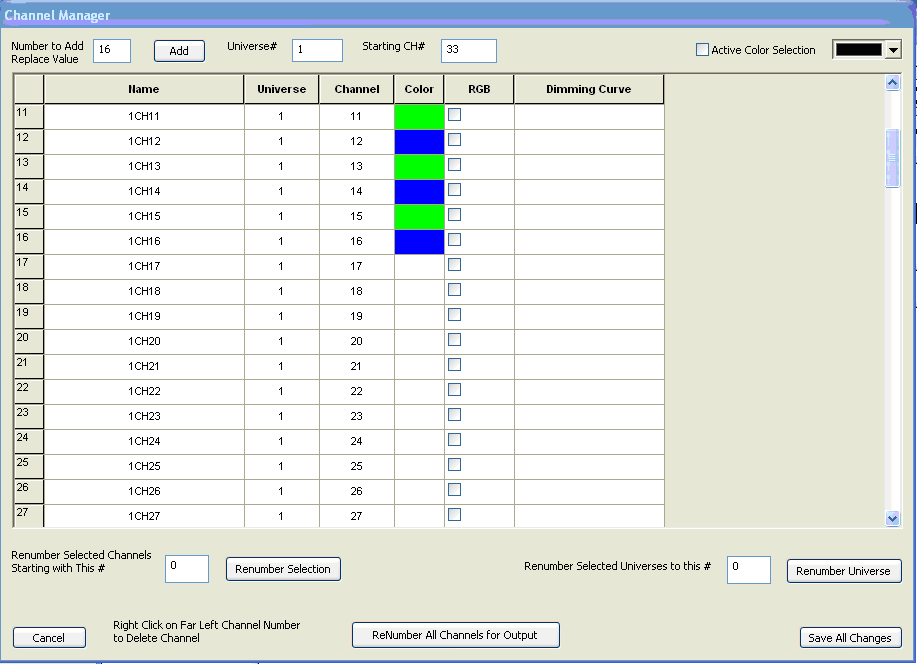
Next we will add 16 channels (see Figure 1-25). Note that 16 was entered in the Number of Channels to Add box.
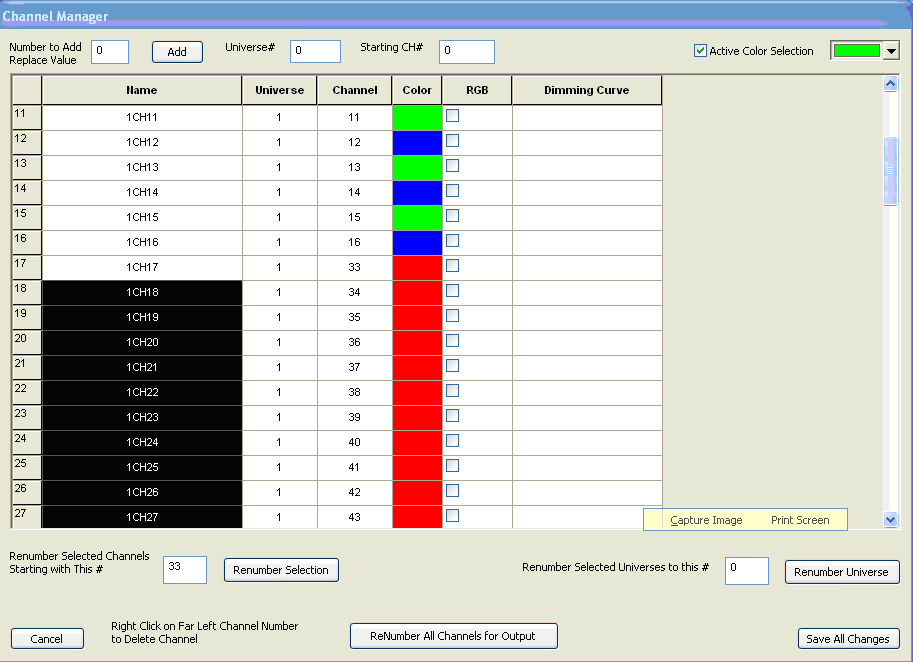
We now rename the channel names of the channels we just reordered so they corrospond to the the new order number.
To do this select the cells in the "Channel" column and type in "Ch_(33)" into the box to the right of the Rename Selected Channels button as shown in Figure 1-25.1
Figure 1-25.1.
File:Figure1-25.1.png
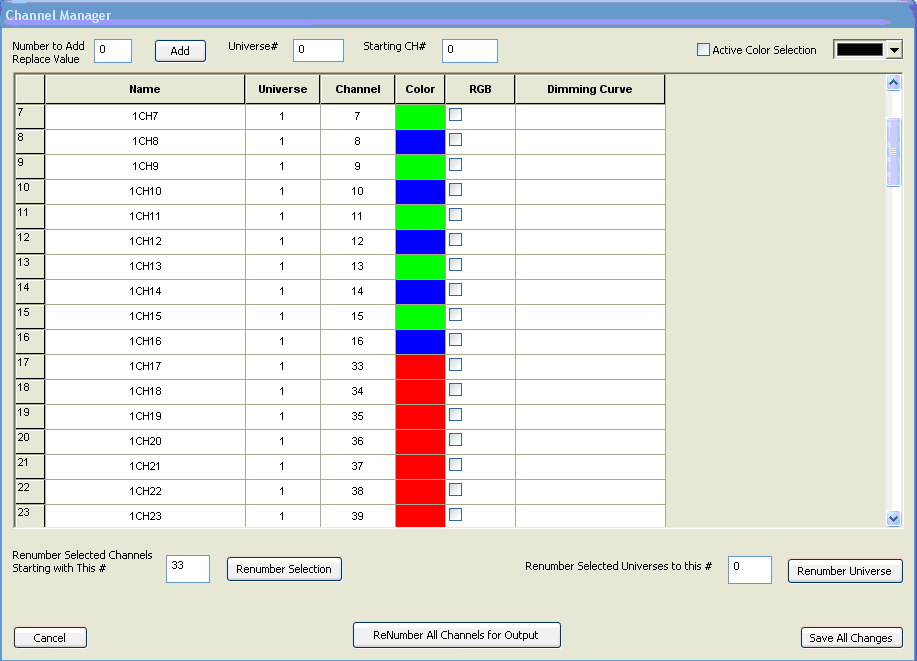
Figure 1-25.2 shows the channel names now corrospond with the order number.
Figure 1-25.2.
File:Figure1-25.2.png
Figure 1-26 shows that the channels were added and numbered correctly but they were added at the end. If you click on the Renumber all Channels for Output button the channels will be put in the correct order in the list. 17-32 will appear right after 1-16.
Deleting Channels
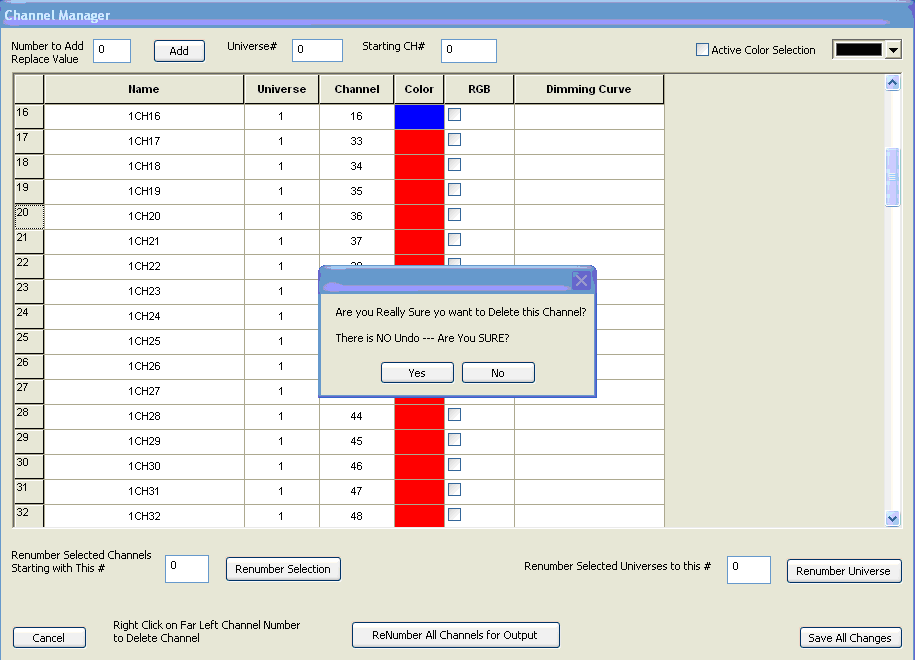
Channels can be deleted one at a time. To delete a channel choose the Manage Channels tab and then select Manage Raw Channels. Right-click on the channel number that you would like to delete (channels are deleted one at a time) in the left-most column in the Manage Raw Channels screen (see Figure 1-28). Then click on the Yes button if you are really sure you want to delete the channel.
Next: Creating a Preview
