Mini Trees
What is a Mini Tree?
Q. What is a Mini Tree?
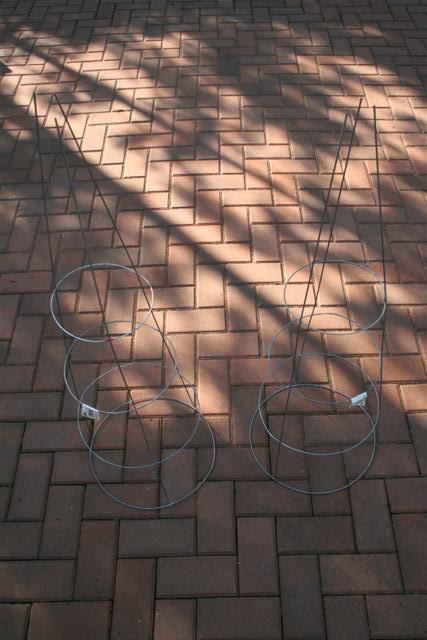
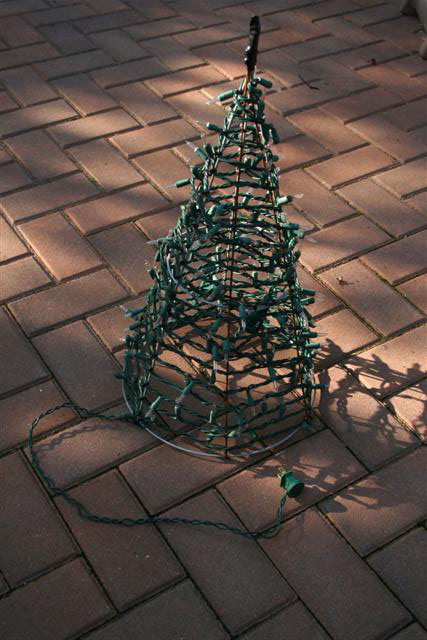
A. A Mini Tree is a small tree usually no more than 3 or 4 feet in height. Some Mini trees are as short as 18 inches. They are usually round or triangular in shape, like a short pyramid or upside down cone wrapped with Christmas lights. Below is a group of 24 inch Mini Trees.
Making a Mini Tree
Q. How do you make a Mini Tree?
A. There are several ways to make a Mini Tree. The Frame of the Mini Tree can be made from tomato plant support cages, floral easels, metal rods or even wire mesh. The choice of material is only limited to your imagination. There is no right or wrong way to make a Mini Tree. In this article we will utilize the tomato cage version of the Mini Tree.
Materials
In this tutorial we will be using the Tomato cage method.
Gather your materials, supplies and tools.
1. Two tomato cages per Mini Tree.
2. 1 set of 100 mini lights.
3. 1 set of 50 mini lights.
4. Sharpie marker.
5. Black electrical tape.
6. about 80 black 4" zipties
7. Wire cutters
8. Bolt cutters or hacksaw
Assembly
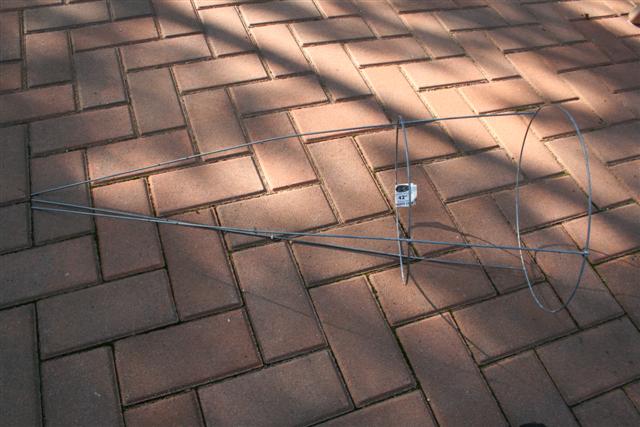
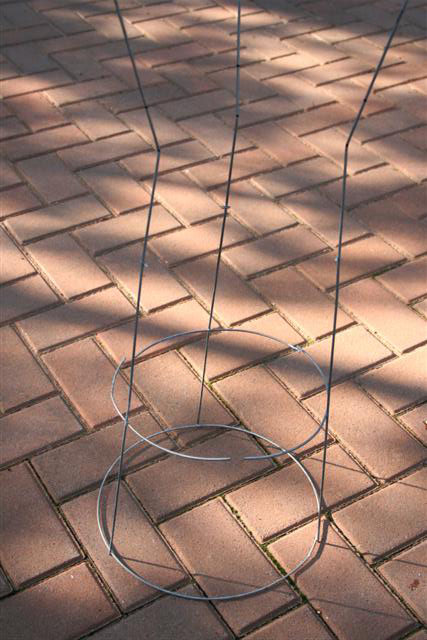
Lets start building! First we will need to decide on the size of the mini tree. I like to use the 2nd largest ring of the cage as the base of the tree. So just flip the cage upside down, step back and take a look at the overall shape. Decide how large or small of a tree you would like.
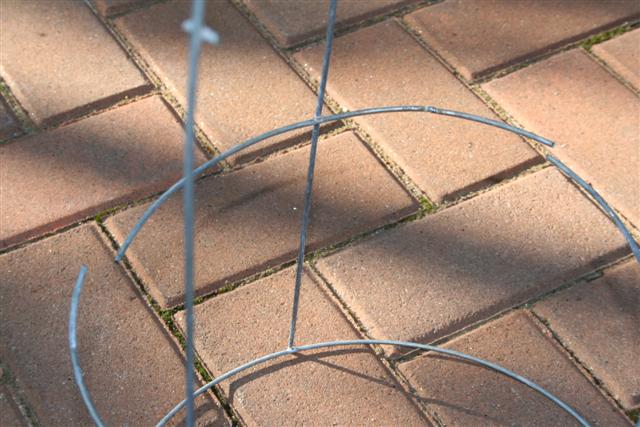
I used a 24 inch tree so I had to cut down the cage to size. I cut off the bottom ring and used the 2nd largest ring as a standard and cut the next smallest ring in the center of each section between the vertical supports with the bolt cutters. I cut the smallest ring off completely. This will leave you with 3 horizontal section from the middle ring. For the cage that will go over this one you will need to cut all the rings off completely except for the bottom one.
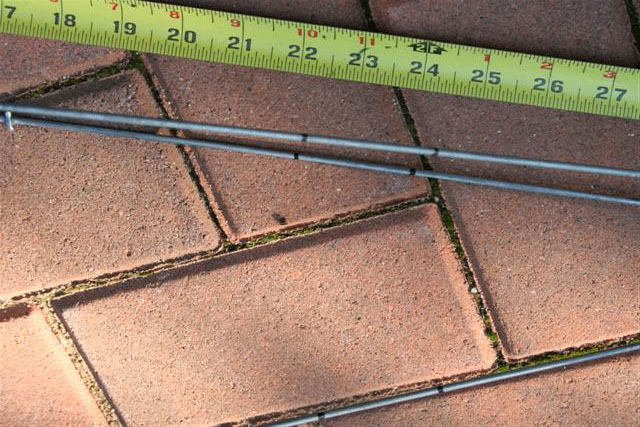
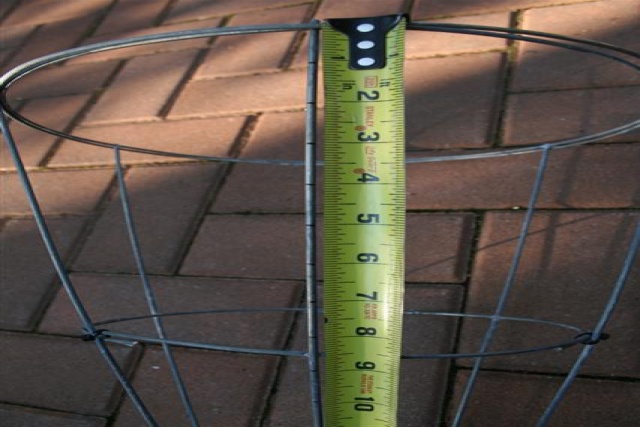
Now you need to decide the height of the tree. If you want a 24" tree mark the vertical supports at 22" and 24". Make a small bend at the 24" mark so when the supports are pulled together them will line up nice and straight.
Now cut them with the bolt cutters at the 26" mark.
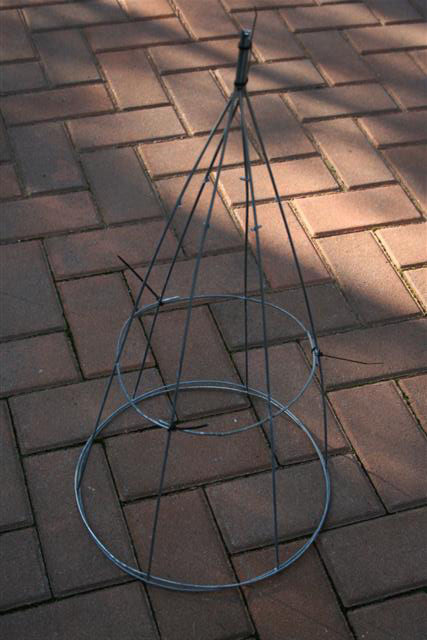
Now stack the cage with only the lowest ring on top of the cage with 2 rings.
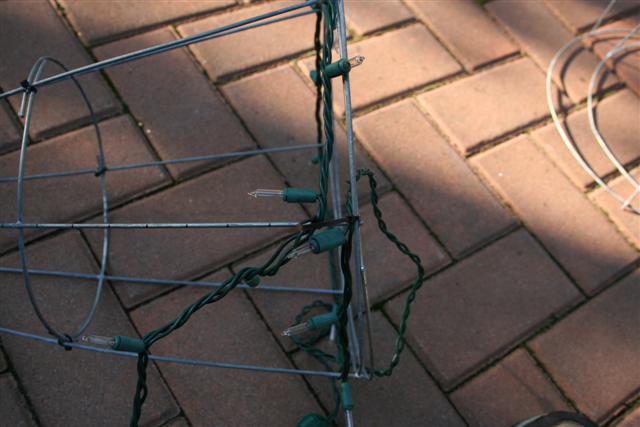
Use 2 zipties to hold the 6 vertical supports together at the top 2 inches.
Use the black electrical tape to wrap the 2" vertical section of the supports to cover the zipties, give extra strength and round over the sharp top edges.
Now return your attention to the middle ring. In my case I had to form the rings into smaller diameter circles to get the look of the tree just right. Use more zipties to secure each of the rings into the proper diameter to meet the look you are after.
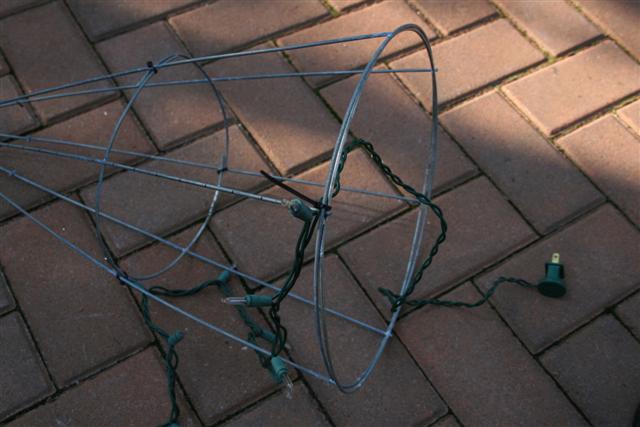
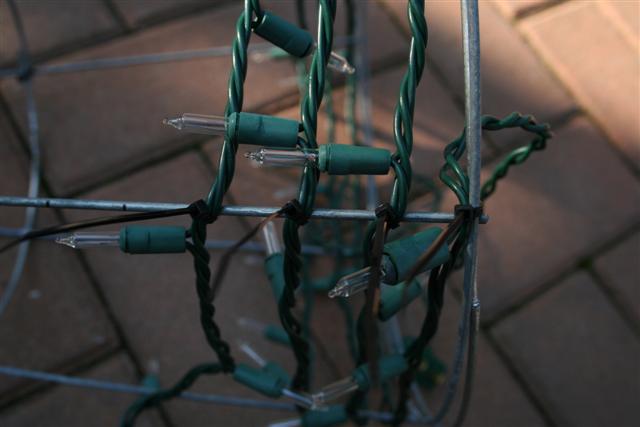
Now once the tree is in a nice overall form you are read to start on the lights. I made a mark with the Sharpie every inch going up 3 of the 6 vertical supports. I started wrapping the lights from the bottom, just go around the tree following the marks you made. As 1 full wrap is completed move the string up to the next mark. Just keep wrapping the lights around and using a ziptie every so often to secure the lights.
This will leave 1 inch of space between the wraps and thus allow the lights in the back half of the tree to be seen from the front. Using this method you will get about 80-90 percent of the effect of have twice the amount of lights on the tree. On my 24 inch tree 150 lights was just right. If you do a taller tree you may need 200 or more lights depending on how tall your Mini tree will be.
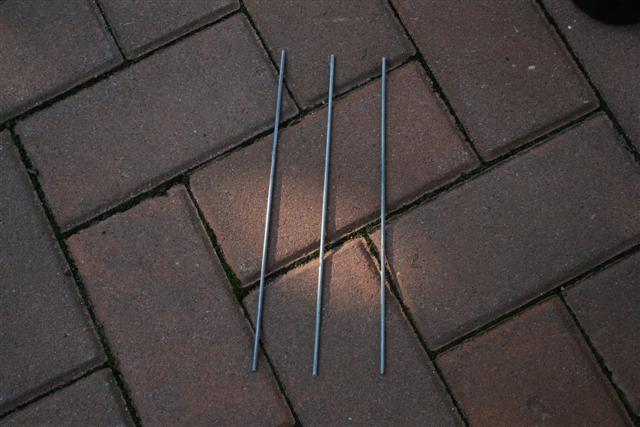
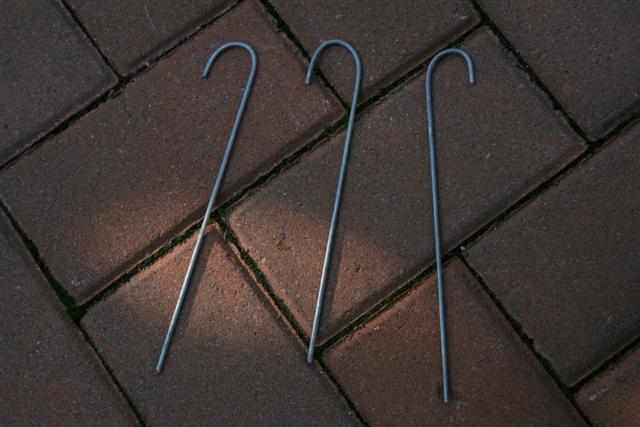
Now that the Mini Tree is finished what do we do with all the left over pieces from the tomato cage? Simply take the straight pieces and bend them into a small candy cane shape. These are perfect to be used as ground stakes for the Mini Trees you just made and othe display items.
Final Remarks
Good Luck and Merry Christmas!
If anyone has any suggestions or other ideas for this How To and would like to post them in the article, I would ask that you leave the original article intact as it is now and add the new additions/suggestions below this line. You may also add comments to the discussion page.
