Creating Custom Effects
Back to: HLS Getting Started Manual
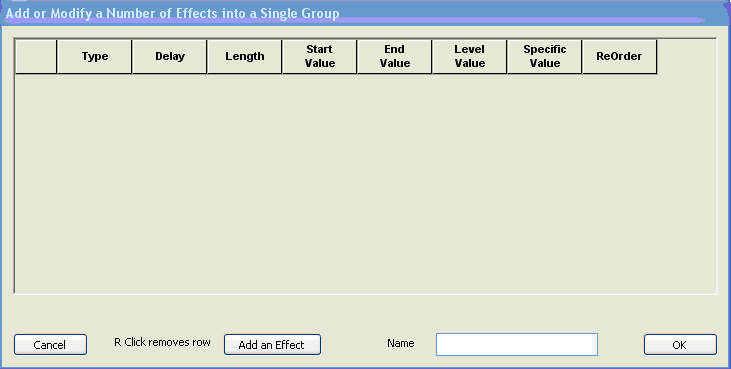
Choose Effects from the top tab on HLS and then Add a Custom Effect Group. The screen shown in Figure 1-58 will appear.
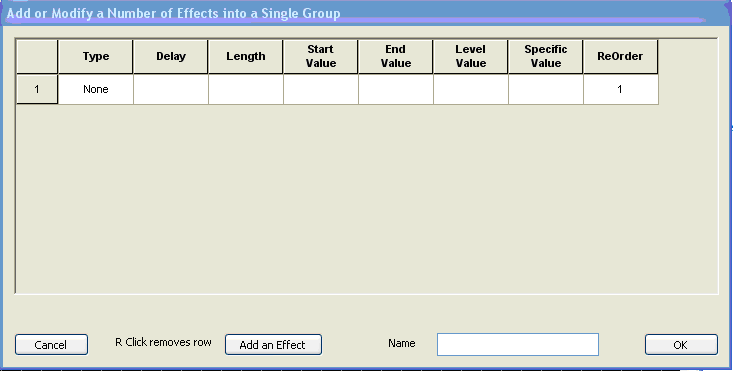
Next we will create the actual effect for our new custom effect. Next click on Add an Effect (see Figure 1-58) and the screen shown in Figure 1-59 will appear.
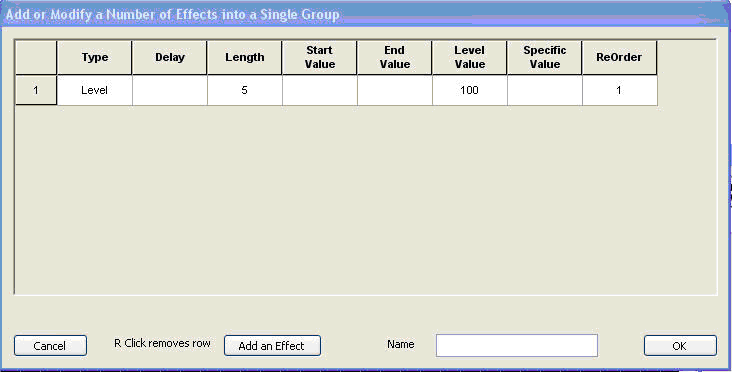
There will be 2 effects in our new custom effect. Let’s create the first effect for our new custom effect (see Figure 1-60). In Figure 1-60 Level effect was chosen for Type, 5 was entered for the Length of the effect, and 100 was entered for the level value. The first effect is now complete. Click on the Add an Effect button to add the second effect to this custom effect. After you click Add an Effect the screen shown in Figure 1-59 appears.
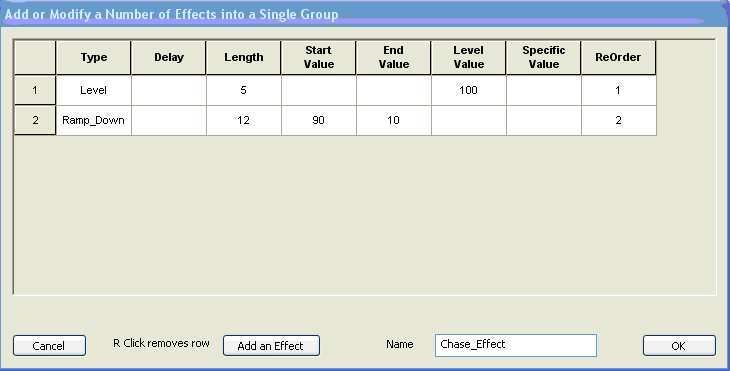
Figure 1-61 shows that a second effect was added. Ramp_Down was chosen for the Type of the effect, 12 was entered for the length of this effect, 90 was entered for the Start Value of the ramp down and 10 for the End Value level of the ramp down. This completes what will be in this custom effect. This custom effect will have a 5 cell level effect followed by a 12 cell long ramp down. The name Chase_Effect was entered for the Name of this effect. Then the OK button was clicked.
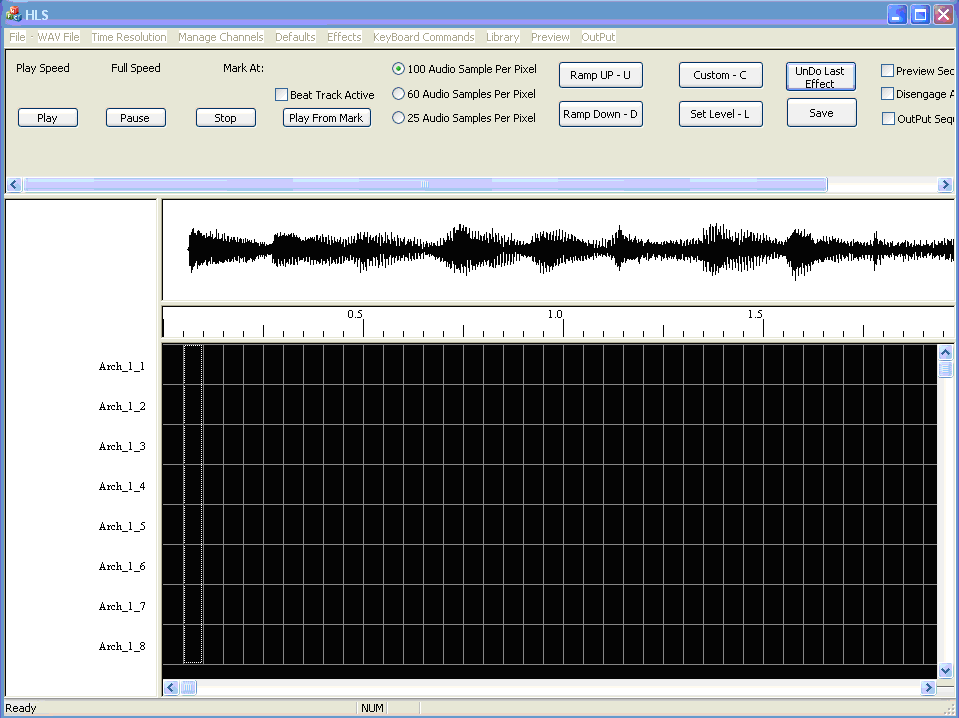
Let’s use our new custom effect. A group of cells was selected in Figure 1-62. Note the dotted line around 8 vertical cells in the second column. This example uses 8 channels for an arch.
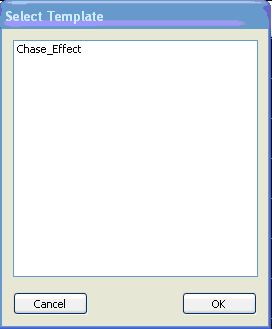
After you have selected the cells that this effect will apply to you can select the effect from the Custom effect button on the top right. Next you would choose the effect from the list (Chase-Effect) in this example (see Figure 1-63). Then click OK.
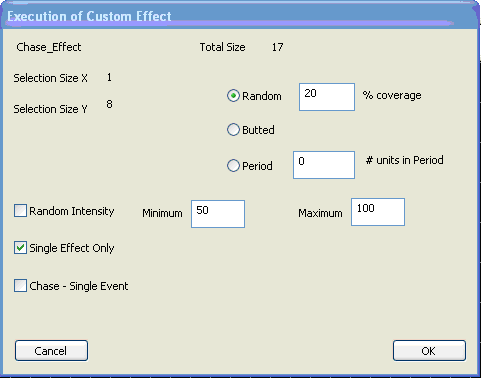
The screen shown in Figure 1-64 would then appear. This screen enables you to change some of the effect’s parameters. This screen enables you to create effects like random, chase (if multiple channels are selected by cells) and so on.
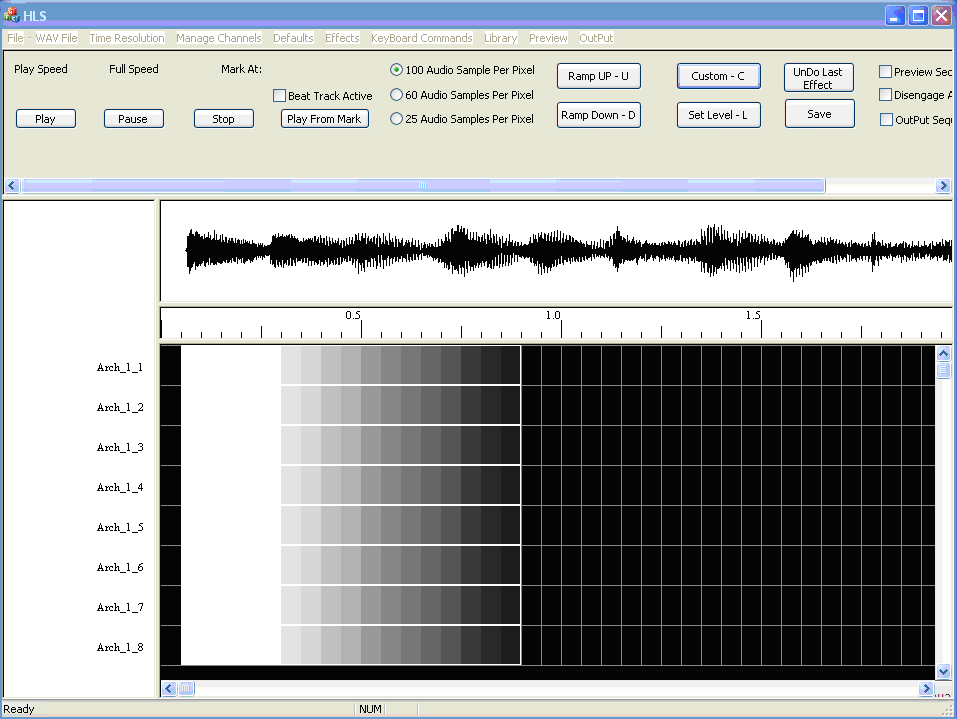
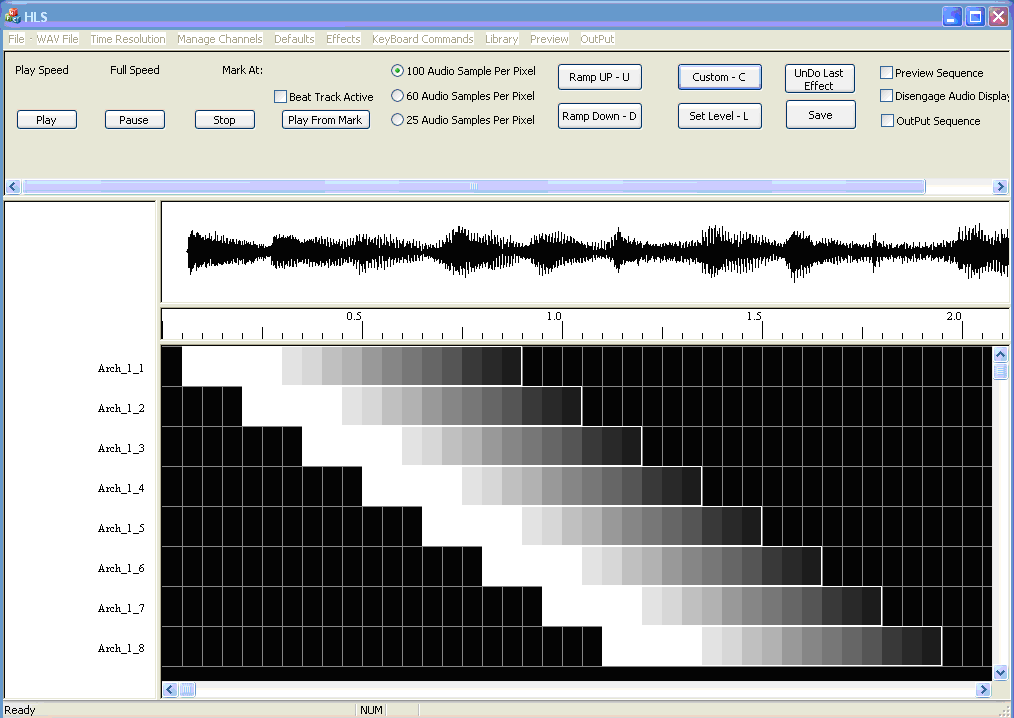
When you are done you would click on OK and the effect will be applied to the sequence (see Figure 1-65).
The custom effect was placed in a box in Figure 1-65. You can grab the left cell of each row and move each row to create the chase. The rows have been moved in Figure 1-66.
