Configuring the Sequence for Output: Difference between revisions
No edit summary |
No edit summary |
||
| (2 intermediate revisions by 2 users not shown) | |||
| Line 2: | Line 2: | ||
We are now ready to configure the sequence for the com port and output hardware. | We are now ready to configure the sequence for the com port and output hardware. | ||
On the top of the HLS screen choose Output and then Setup COM Ports. The screen shown in Figure 1-46 should appear. | On the top of the HLS screen choose '''Output''' and then '''Setup COM Ports'''. The screen shown in Figure 1-46 should appear. | ||
Figure 1-46.<br /> | Figure 1-46.<br /> | ||
| Line 8: | Line 8: | ||
Choose Add and the screen shown in Figure 1-47 will appear. | Choose '''Add''' and the screen shown in Figure 1-47 will appear. | ||
Figure 1-47.<br /> | Figure 1-47.<br /> | ||
| Line 15: | Line 15: | ||
The default choices are correct for this example so choose OK. | The default choices are correct for this example so choose OK. | ||
Figure 1-48 show what the Manage Com Ports screen will look like now. Ok was chosen and the Com Port is now setup. | Figure 1-48 show what the '''Manage Com Ports''' screen will look like now. Ok was chosen and the Com Port is now setup. | ||
Figure 1-48.<br /> | Figure 1-48.<br /> | ||
| Line 21: | Line 21: | ||
In Figure 1-49 notice that universe 1 is the one we are working with for output. We only used universe 0 for the beat track. In this example we are only using one Port and one protocol (Renard), so only one universe appears here. Next choose Output from the top tab again and then Select Output Method. | In Figure 1-49 notice that universe 1 is the one we are working with for output. We only used universe 0 for the beat track. In this example we are only using one Port and one protocol (Renard), so only one universe appears here. Next choose '''Output''' from the top tab again and then '''Select Output Method'''. | ||
Figure 1-49.<br /> | Figure 1-49.<br /> | ||
| Line 27: | Line 27: | ||
Next you must configure three things: Transport (Port to use), Protocol (Renard in this example), and make the universe active in the Active checkbox. First let’s choose the Transport. | Next you must configure three things: '''Transport''' (Port to use), '''Protocol''' (Renard in this example), and make the universe active in the '''Active''' checkbox. First let’s choose the '''Transport'''. | ||
In Figure 1-50 COM was chosen in the example (we will be using Com port 1 that we already configured). | |||
In Figure 1-50 '''COM''' was chosen in the example (we will be using Com port 1 that we already configured). | |||
Figure 1-50.<br /> | Figure 1-50.<br /> | ||
| Line 40: | Line 41: | ||
After you choose OK the screen shown in Figure 1-52 will appear. Note that Renard was chosen. Make sure it is highlighted before you click OK. | After you choose OK the screen shown in Figure 1-52 will appear. Note that '''Renard''' was chosen. Make sure it is highlighted before you click '''OK'''. | ||
Figure 1-52.<br /> | Figure 1-52.<br /> | ||
| Line 46: | Line 47: | ||
Figure 1-53 shows that the status of the Com port is 1 (good) and you must set the checkmark under Active for the output to be active. | Figure 1-53 shows that the status of the Com port is 1 (good) and you must set the checkmark under '''Active''' for the output to be active. | ||
Figure 1-53.<br /> | Figure 1-53.<br /> | ||
| Line 52: | Line 53: | ||
To run the sequence with actual outputs make sure your Renard is plugged into the COM port you specified, click on the check box for OutPut Sequence on the upper right of the screen (see Figure 1-54). Note that when you do that the check box for Disengage Audio Display will also be checked so that the audio display does not run during actual output. | To run the sequence with actual outputs make sure your Renard is plugged into the COM port you specified, click on the check box for '''OutPut Sequence''' on the upper right of the screen (see Figure 1-54). Note that when you do that the check box for '''Disengage Audio Display''' will also be checked so that the audio display does not run during actual output. | ||
Hit the play button and lights should flash according to your sequence. | Hit the play button and lights should flash according to your sequence. | ||
| Line 60: | Line 61: | ||
Next: [[Creating Chases]] | Next: [[Creating Chases]] | ||
[[Category:HLS]] | |||
Latest revision as of 20:50, 7 March 2013
Back to: HLS Getting Started Manual
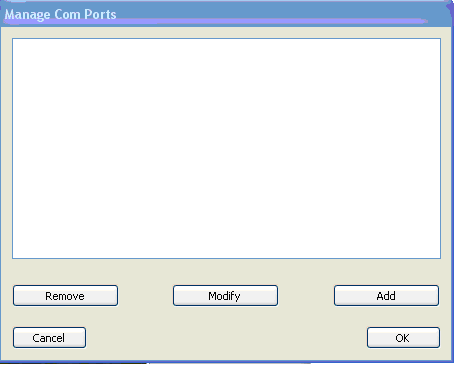
We are now ready to configure the sequence for the com port and output hardware. On the top of the HLS screen choose Output and then Setup COM Ports. The screen shown in Figure 1-46 should appear.
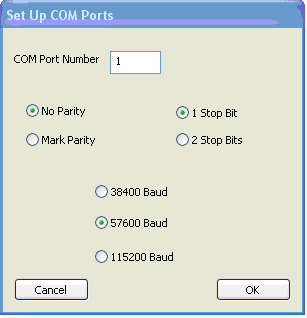
Choose Add and the screen shown in Figure 1-47 will appear.
The default choices are correct for this example so choose OK.
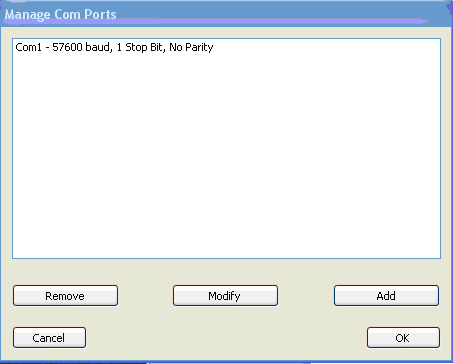
Figure 1-48 show what the Manage Com Ports screen will look like now. Ok was chosen and the Com Port is now setup.
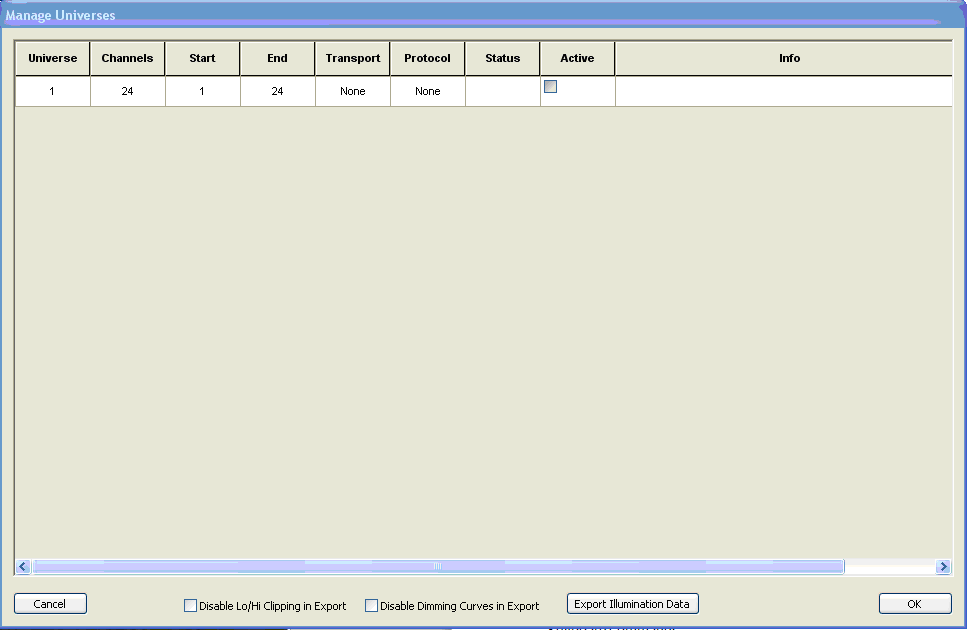
In Figure 1-49 notice that universe 1 is the one we are working with for output. We only used universe 0 for the beat track. In this example we are only using one Port and one protocol (Renard), so only one universe appears here. Next choose Output from the top tab again and then Select Output Method.
Next you must configure three things: Transport (Port to use), Protocol (Renard in this example), and make the universe active in the Active checkbox. First let’s choose the Transport.
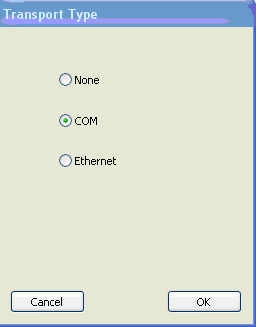
In Figure 1-50 COM was chosen in the example (we will be using Com port 1 that we already configured).
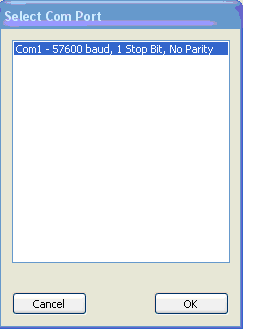
Make sure you select the Com port you want to use before clicking OK. Note that Com1 is highlighted in Figure 1-51.
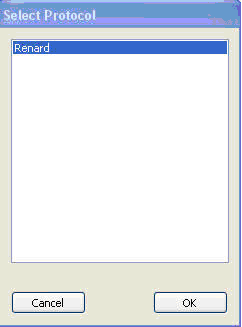
After you choose OK the screen shown in Figure 1-52 will appear. Note that Renard was chosen. Make sure it is highlighted before you click OK.
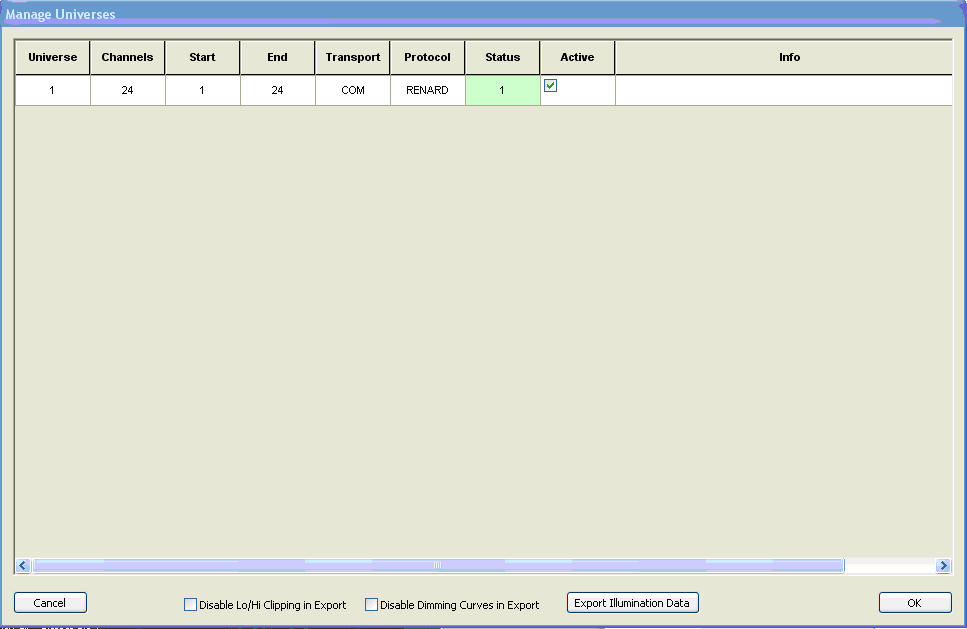
Figure 1-53 shows that the status of the Com port is 1 (good) and you must set the checkmark under Active for the output to be active.
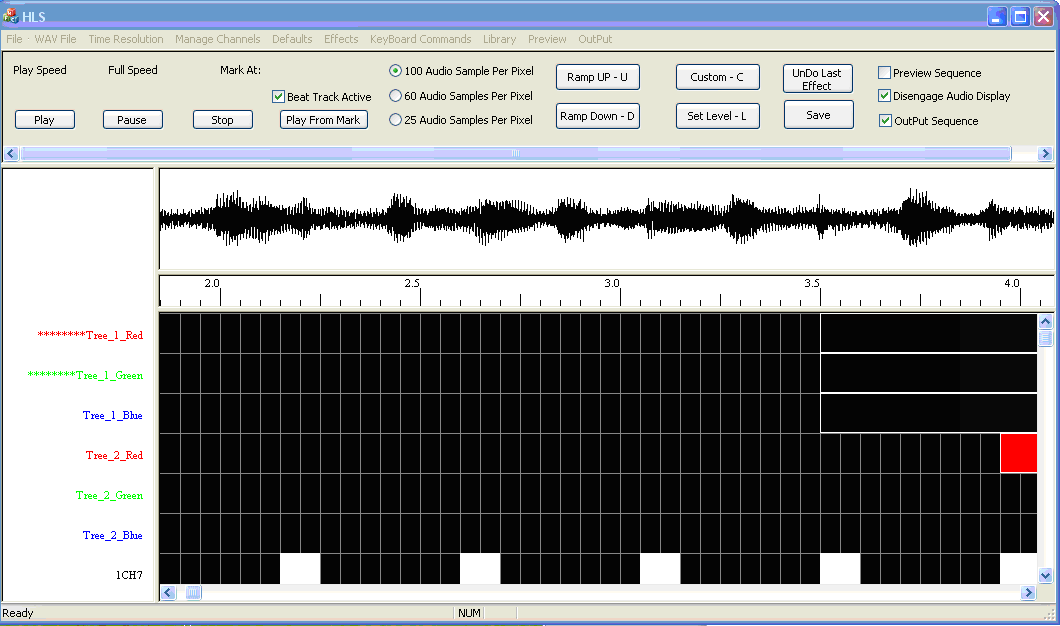
To run the sequence with actual outputs make sure your Renard is plugged into the COM port you specified, click on the check box for OutPut Sequence on the upper right of the screen (see Figure 1-54). Note that when you do that the check box for Disengage Audio Display will also be checked so that the audio display does not run during actual output.
Hit the play button and lights should flash according to your sequence.
Next: Creating Chases
