new P10 Matrix Makers by Boscoyo Studio

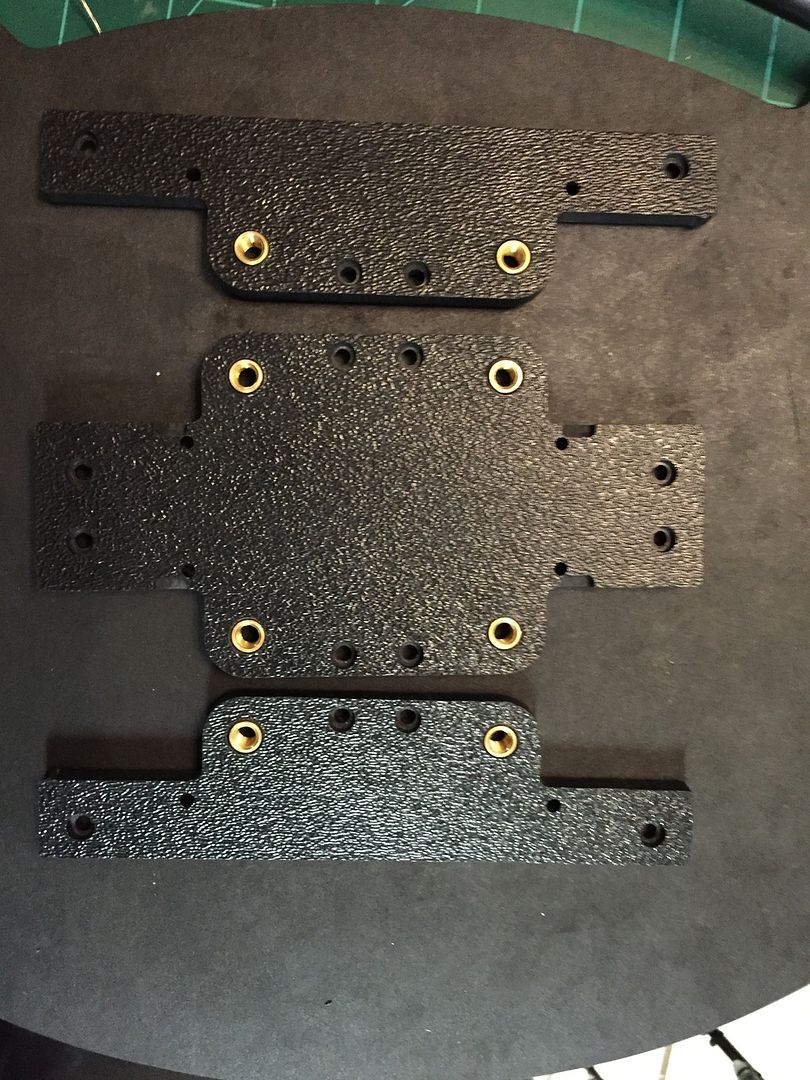
I think I'm done with the final tweaks. I played a little with the tolerances to help fit a little more variation between P10 Manufacturers.

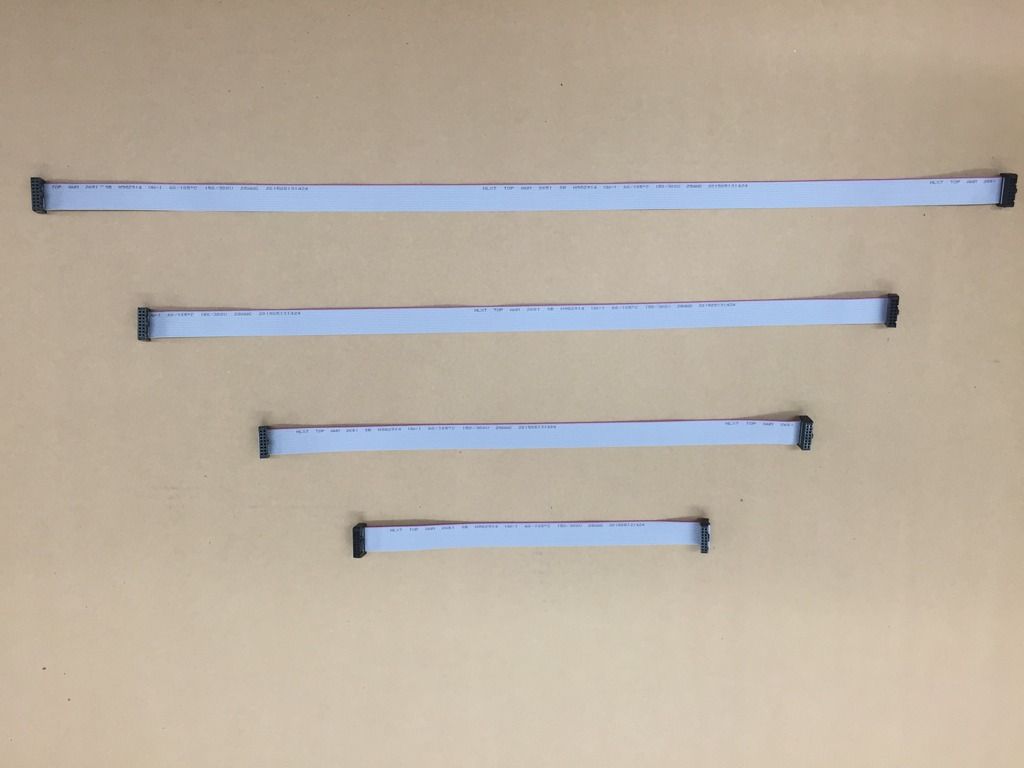
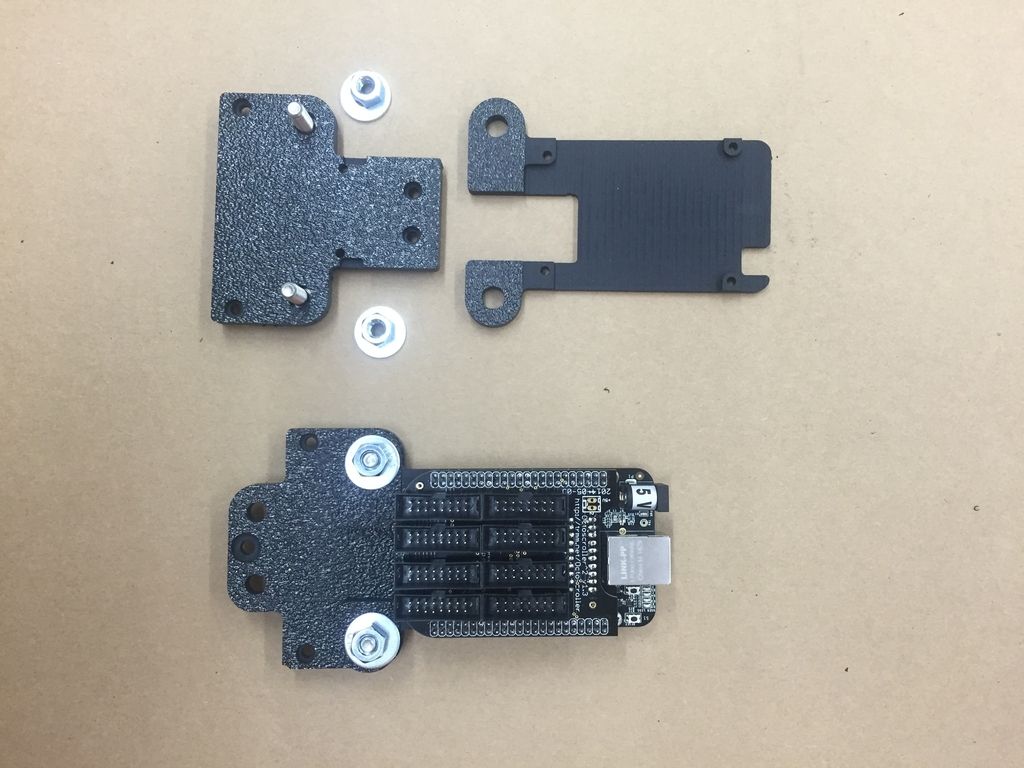
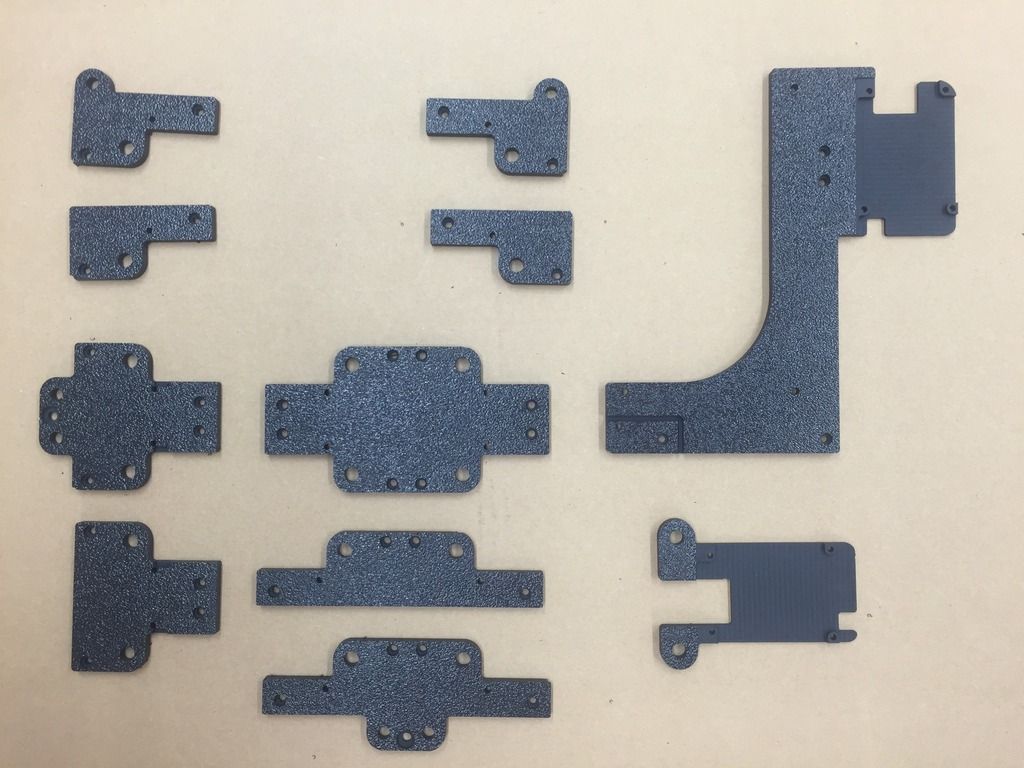
I also finished the smaller BBB mount that fits off to the side. By using this plate, you can use the factory 4" long ribbon cables to reach the first two rows of panels. This is perfect when you plan on doing a scrolling text matrix that is only 2 P10's tall! The BBB mounting plate can be bolts to any of the T's with or without the side mounting tabs. This plate can be installed on any of the T's or X's so the BBB can really be mounted anywhere on the backside of the matrix.
E614DCBB-F520-4FA3-9ACF-C4F679B25CAF_zps9wxjjv7o.jpg


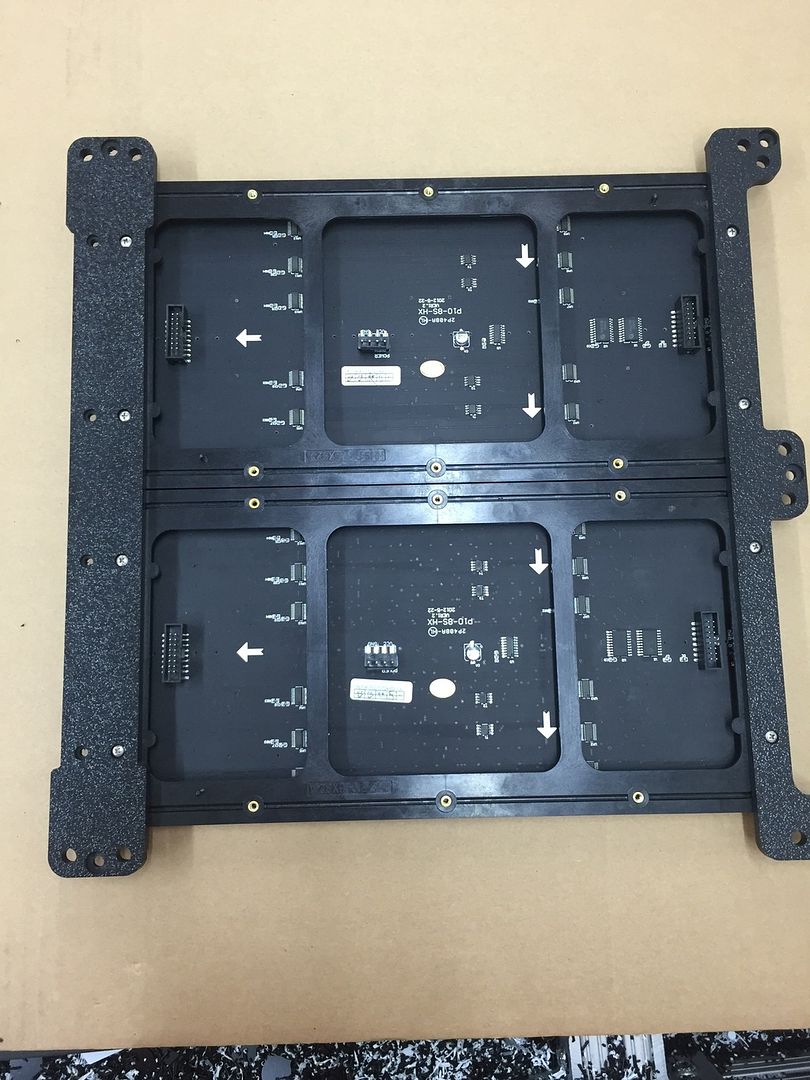
I made all of the T's for the sides or top and bottom to come with or without the revised side mounting tabs so you can install the finished Matrix Panel in either orientation. It also works with our soon to be released P10 Enclosure.
The rest of the collection:
97F2B6CE-BFF1-4B70-83FD-64BE19192965_zpsecg7ys8o.jpg


I forgot to add the pic of the additional Power Supply mount. I cut off the BBB plate so if you use the new BBB mount listed above you can clean up the install.

Thanks,
James
 
Last edited:
James, any updates on what your are looking at for the enclosure?

My $$ are standing by. I just need to call and order part numbers... oh wait, THEY ARE NOT ON THE STORE YET.

Sheesshhh!!!!:eek:mg:
 
James, any updates on what your are looking at for the enclosure?

My $$ are standing by. I just need to call and order part numbers... oh wait, THEY ARE NOT ON THE STORE YET.

Sheesshhh!!!!:eek:mg:

All the parts and pieces are made and we are writing up the stuff for the web site. Would have been done sooner but we took the kids to Mini Maker Faire here in Baton Rouge today. Was a lot of fun and some really neat ideas. Met with some guys that do Pyro with Arduino and found a local club that does some other cool stuff that I might be able to work with on another project.


The enclosures, like everything else I will try to get the cost down as reasonable as I can and still cover time and materials. I don't want to speculate on price just yet until we finish up the design and component sourcing. Then I'll build a few to get a baseline for time to build. They are going to a fair amount of labor to build. The plan is to make a few standard size enclosures then we will take special orders on odd ball sizes.

James
 
Also the ribbon cable supplies came in yesterday and we will have 11", 17", 23", and 29" cables and can make custom length ones if needed.

A75E92F5-041C-4963-A69E-B123D204C69C_zpsmzi6kmhb.jpg


James
 
Taking the kids to a MakerFare, a great thing for them! We had a great one in the area until it shutdown a few years ago...

Will your new enclosure be weather resistant / proof?
 
Ok, still working on the enclosures for these P10 matrix panels. But an alternative connector has evolved out of the design process. I was trying to avoid making a full size backer plate for the enclosure and still get some structural support out of them and this is what I came up with. It simplifies the ordering process because it is really just two pieces. No T's, L's, or X's just outer edge and inner strips. The Matrix Maker Strips will come in 2, 3, 4, and 5 panel high strips and you would order the pair of ends, and as many inner strips as you need based on the width of your final matrix.

This is what the 2 tall Matrix Maker Strips start to look like:
00B930D8-1273-46A2-8332-CB057F0F7768_zpsjex2budu.jpg


I will add the BBB Mount holes to these as well. The Power Plate and Mini Power Plate's still work with the design and it works with both P10 panels that have either 10 or 6 mounting bosses.

So I'm sure I'll get the question so I will address it now. Which one is better, the individual plates or the strips? From playing with both versions this is what I noticed. The cost is about the same. The plates allow you to change your matrix layout at any time. The strips only allow you to expand the width, not the depth without cutting and modifying them. While the strips make a continuous connection from top to bottom, I feel that the smaller plates make a more ridged connection by providing more contact surface at the X joints and T joints and using twice as many screws per P10 joint.

So I can make a valid point to use either type of Matrix Maker connectors or strips.

When I added the mounting tabs to the connectors and used on the strips, it was to make it easier to attach to a frame. I made them so they work with standard exterior door casing. So if you want to make a simple enclosure, that is a great way to make a fast frame. I'm actually looking at using them to make enclosures from rather than continuing down the road with a composite material frame to help cut cost.

James
 
OK- Im sucked in...

But can someone point me to a resource for how to drive/program for these P10 units?

I tried a forum search for "p10" but thats too short - it returned nothing...

Thanks!!
 
Post on the falcon site and someone may have an extra Octoscroller with RTC on it. We just had a group by a while ago and there might have been extras. The BBB and new 'BBG' green version are at mcmelectronics.com and microcenter.com normally. Amazon also.
 
If you placed an order for P10 connectors and haven't checked it please check it. When the bins were refilled with more inventory it looks like the T1 and T2's were swapped with the T3 and T4's. So your quantities on these may have been reveresed. If you ordered T1's you may have gotten T3's. The same can be said for the T2's you may have gotten T4's. If you do feel an error was made please send us an pic of the parts laid out to Sales@BoscoyoStudio.com so we can confirm and we will correct the issue.

Thanks and sorry about the mix up.
James
 
how far back James? I figured I just didn't order enough the first time. waiting on my second shipment now with that angel and the star
 
I think I was sent too many t3's and not enough t1's so I turned my horizontal matrix from landscape to portrait. I actually like it better now.
 
I think I was sent too many t3's and not enough t1's so I turned my horizontal matrix from landscape to portrait. I actually like it better now.
Ha! Well that's one way to handle it!

how far back James? I figured I just didn't order enough the first time. waiting on my second shipment now with that angel and the star
I'm not sure when the new stock was put into the bins. We will check your current order and make sure it is correct.

James
 
Not tracking to hi-jack this thread per say just not completely sure where else to ask this, but do you have stars that you've made James for sale? Seems I sorta answered my own question, Was able to get your products page to slowly come up from your page. But now trying to browse seems to be really slow for some reason.
 
Last edited:
One neat thing for those using the P10 Matrix Makers, I don't have my box/etc done up yet, but, I wanted a good solid permanent mount for when i will need them.

One neat thing: using M6 ultrasonic or heatset inserts, I was able to using a soldering iron to heat up the inserts and install them into the plastic. I'm in love with how they turned out and how it looks!

664F6FEC-C0A4-463B-B348-484CB73D8593.jpg
 
I did some strength testing on these for James. I'm not done yet because I couldn't break them at home. I had over 250lbs hanging from single screw holes and they did not budge. I only have a 250lb scale at home so that's as far as I could go. I've got a 1.5 ton scale at the shop that I keep meaning to test further but I keep forgetting to bring them in.

I love the idea of the threaded inserts. Couple that with some joining plates and we've got quick disconnect sections. We could probably keep panels partially assembled in a 2x4 tiled arrangement for storage and then use some additional plates as joiners for the tiles.


--Jon Chuchla--

Sent from my iPhone using Tapatalk
 
I love the idea of the threaded inserts. Couple that with some joining plates and we've got quick disconnect sections. We could probably keep panels partially assembled in a 2x4 tiled arrangement for storage and then use some additional plates as joiners for the tiles.

I did put a bolt in and try to yank one out, but, stopped as the plastic was starting to bend elsewhere - so they are solidly in there.
 
Back
Top